A couple months ago, I shared a post on the first part of this subject. This is a continuation, discussing another product that can help you achieve a zero waste period.
Similar to how I started my other post: If you’re not a lady, or are a coworker and suspect this may be too much information, it probably is. And you should probably stop reading. Maybe jump over to this fun Earth Day post about things you can do to help the planet!
Disclaimer: This post contains affiliate links. See my Disclosure Policy for more information.
Ok, hopefully I’ve filled enough of the page with unrelated text that you didn’t see anything you don’t want to see. Now I’ll get on with the cool product that I discovered that has allowed me to have zero waste periods for 2.5 years and counting.
Note: October 27, 2018 I added updates to the sections below regarding how tI clean my reusable pads.

Reusable pads: a staple for the zero waste period
About 2.5 years ago, I discovered the reusable cotton menstrual pad. And it is amazing. No longer am I purchasing plastic lined pads, in plastic packaging, which ends up in landfills every month. Nor do I need to deal with that uncomfortable feeling of plastic up against my delicate regions. Now, a one-time purchase (which included NO plastic packaging) has kept me going for over 2 years.
What are reusable pads?
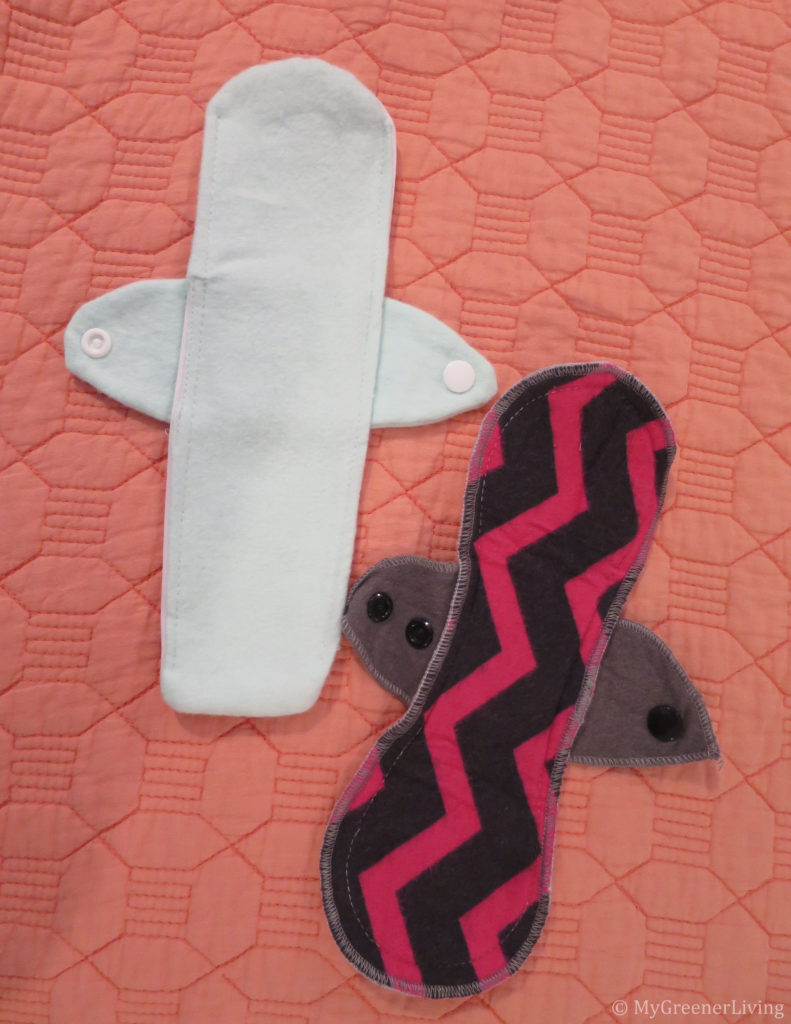
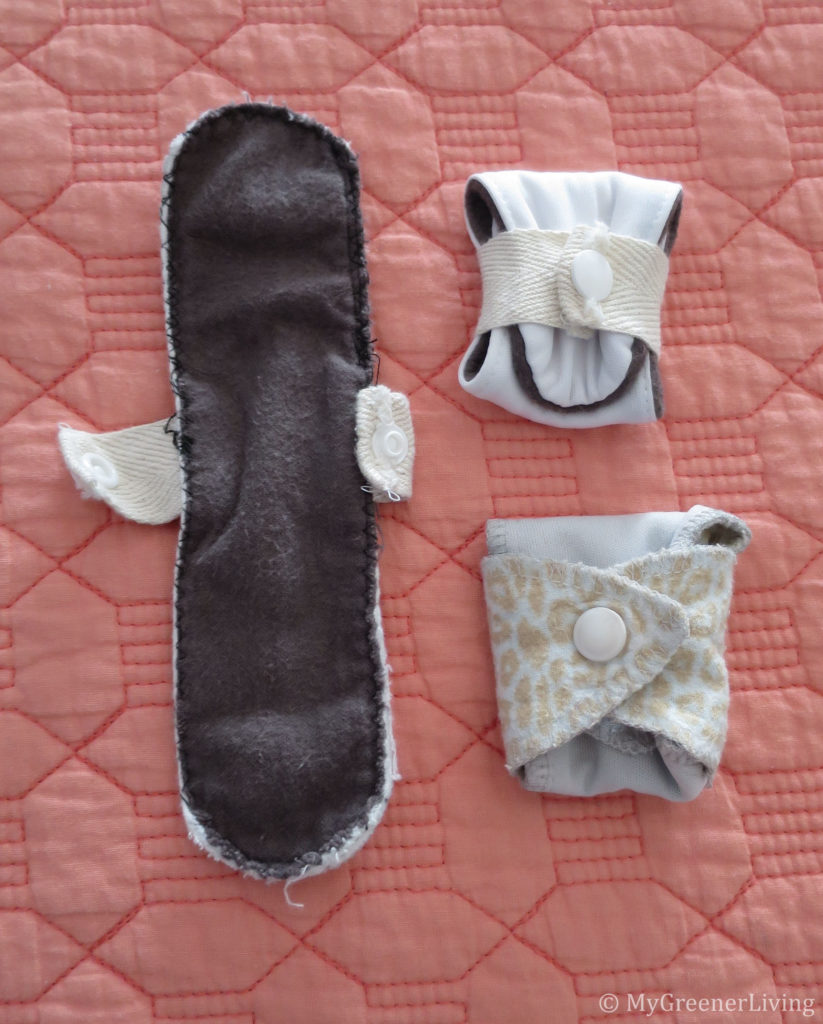
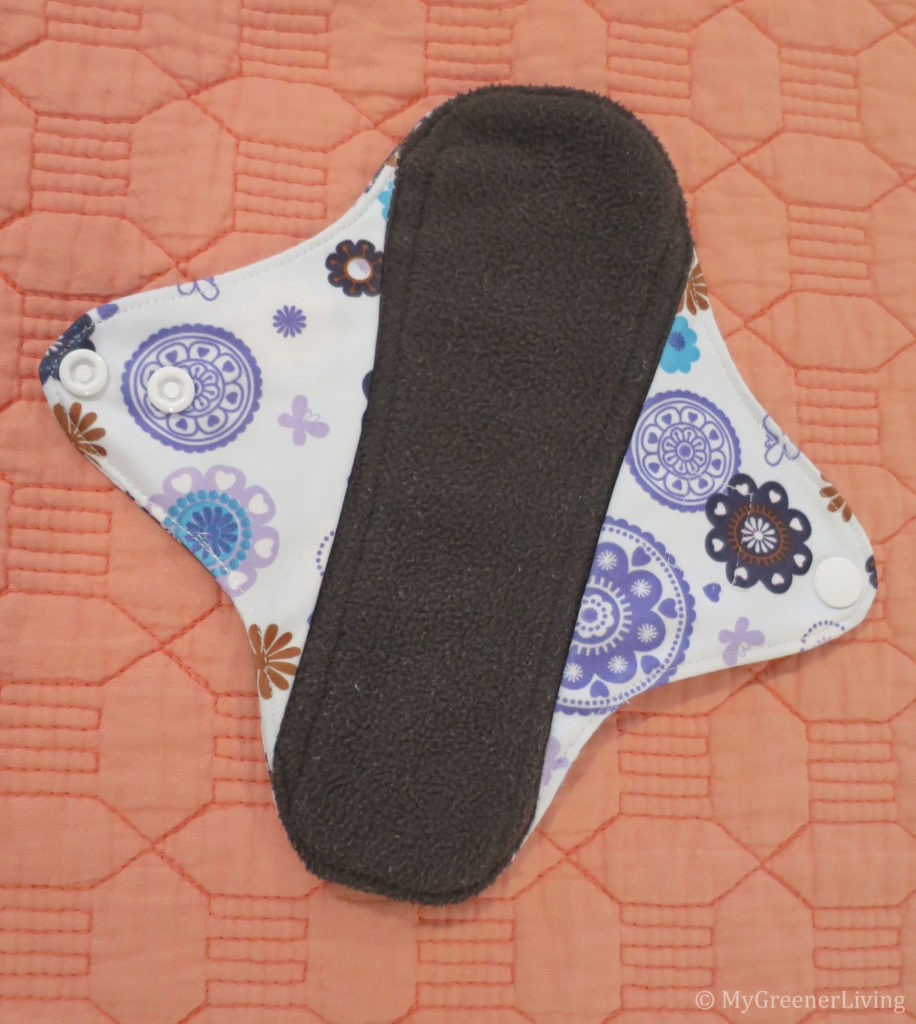
Reusable pads are a bit like those cloth diapers that are becoming more and more popular. They have a waterproof (plastic-lined) outer layer and cotton or bamboo inner layers that contact the skin and absorb. My favorites have a flannel cotton layer against my skin, and 1-2 layers of bamboo fabric between the flannel and waterproof fabric layer. They also have “wings” like some conventional pads. These wings are particularly important on reusable pads because they don’t have plastic adhesive to stick to your underwear, so these wings help keep the pad in place.
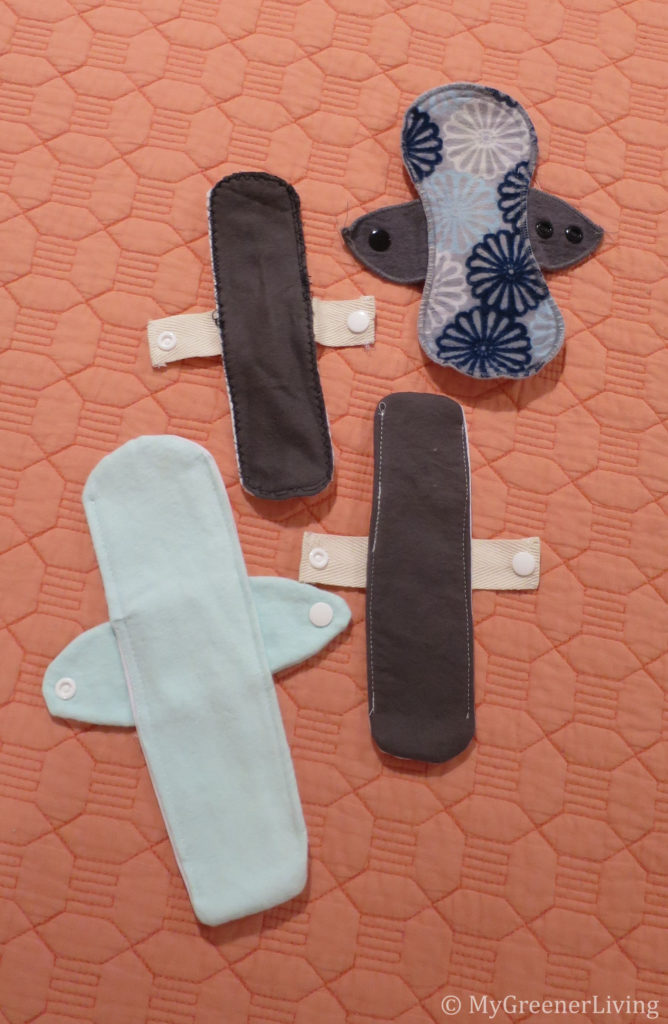
I have a variety of reusable pads, some purchased and some that I made myself. I determined the general shape that I thought would best meet my needs, and purchased the one in the top right of the above photo. Then I adjusted the shape and length to what I thought would be most comfortable for me.
How do you use reusable pads?
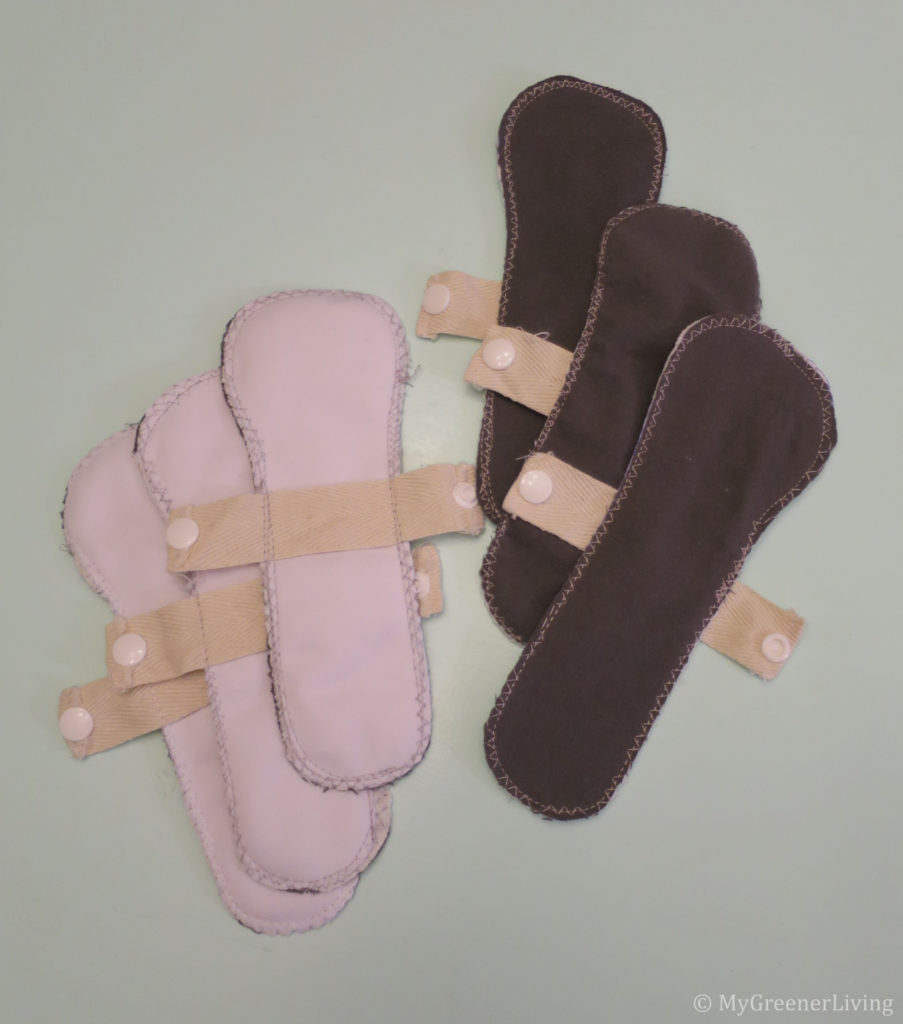
I typically use my reusable pads as a backup to my menstrual cup (you can read more about these in my earlier post) and when I am expecting my period, so they see very low flow. For these reasons, I like thin pads. I made some of my own to perfectly fit my needs. They are only 3 layers thick: waterproof outer layer, bamboo center layer, and flannel inner layer; and they have a narrow width. I also realized that I didn’t need anything special for the wings, so rather than sewing more flannel, I just used a 1″ wide strip of heavyweight cotton twill tape.

If you’re using a reusable pad for heavier flow, you may want a thicker, wider, and/or longer pad. Again, these can be purchased or made. There are many different styles available online. Some have large wings, more similar to conventional maxi-pads, which may be desirable for heavier flow days.
What are the benefits to using reusable pads?
I see two main benefits to using reusable pads: less waste, and more comfortable.
Reusable pads eliminate the need to generate waste each month when I get my period. Overall they use fewer resources. While energy, water, and supplies go into the production of reusable pads, this is a one time resources cost. The pads are then used over and over for years. Conventional disposable pads both become waste in and of themselves, and have an inherent waste associated with manufacturing each of these single use items.
I personally find reusable pads to be much more comfortable than conventional disposable pads. The cotton layer is soft against my skin. It does not stick, chafe, or irritate like the plastic on disposable pads. Also, I have never had an allergic reaction to cotton reusable pads, like I have to plastic disposable pads. This comfort factor alone would be enough to make me choose reusable pads over disposables.
How do I keep them clean?
The super-simple answer is: soak, machine wash, tumble dry.
I have found that it is easy to keep reusable pads clean from a sanitary perspective, but they do not always look clean without additional effort and using OxiClean when soaking not only sanitizes but removes blood stains as well.
About OxiClean: I have included a LOT of details about OxiClean in some of my previous posts. My How to Wash Towels post was my first discussing OxiClean, so if you haven’t read it and want more details, head over there. Put simply, the active ingredient in OxiClean is sodium percarbonate. When I want to use an oxygen bleach, I use either pure sodium percarbonate or OxiClean Baby, because they have no additives.
As I am sure you all know, blood stains. The easiest way to prevent stains from setting is to wash before the stain dries, and to add a little OxiClean when soaking.
Before the stain dries
If I’m able to deal with my used pads before the blood has a chance to dry, I either rinse with cold water then place in a water-filled, covered bucket and sprinkle a little OxiClean in the water, or place directly in the water-filled, covered bucket and sprinkle a little OxiClean in the water (directly over the blood stain). This allows the stain to soak and come out easier in the wash. OxiClean is also a bleaching agent, so it kills bacteria. I add a little more OxiClean each time I add a pad, since OxiClean in water is only active for about 6 hours. I keep this bucket out of sight in my laundry room, so it doesn’t bother others in the household or guests. I also use a ceramic cookie jar as my bucket, so no one can see what’s inside without removing the cover.
The next time I’m ready to do laundry, I remove the soaking pads from the bucket and place directly in the washing machine. Then I discard the soaking water in the sink or toilet, and rinse or wash out the bucket with a mild soap (I use Dr. Brommer’s or my homemade liquid castile soap). I machine wash the pads with my clothing – I always use cool wash/cold rinse to save energy. If there is no visible staining on the pad, I toss in the dryer with the clothes to dry. If there is visible staining, I either air dry, or work on that stain right away. Heat sets stains, so if you dry with a stain visible you’ll have a harder time removing it. But if you do end up with a set-in blood stain and want to remove it, you can try the steps I used in my OxiClean vs. dried blood post.
After the stain has dried
To remove stains – either dried on when I removed the pad or still visible after washing, I use a concentrated OxiClean soak. This soaking method is described in more detail in my OxiClean vs. dried blood post, but basically I put the pad stain-side up in a shallow container of water and sprinkle OxiClean directly over the stain to cover it, wait 2-6 hours, if the stain remains I repeat the OxiClean soak until it’s gone or faded enough to satisfy me. hydrogen peroxide. It’s under $1 for 32 fl oz at Walmart (in the first aid section). I soak the stained area with hydrogen peroxide, and keep reapplying more hydrogen peroxide until the stain fades or disappears. I make sure to always keep the stain damp with hydrogen peroxide until I am satisfied that it is cleaned. Then I launder with my clothing and air or tumble dry.
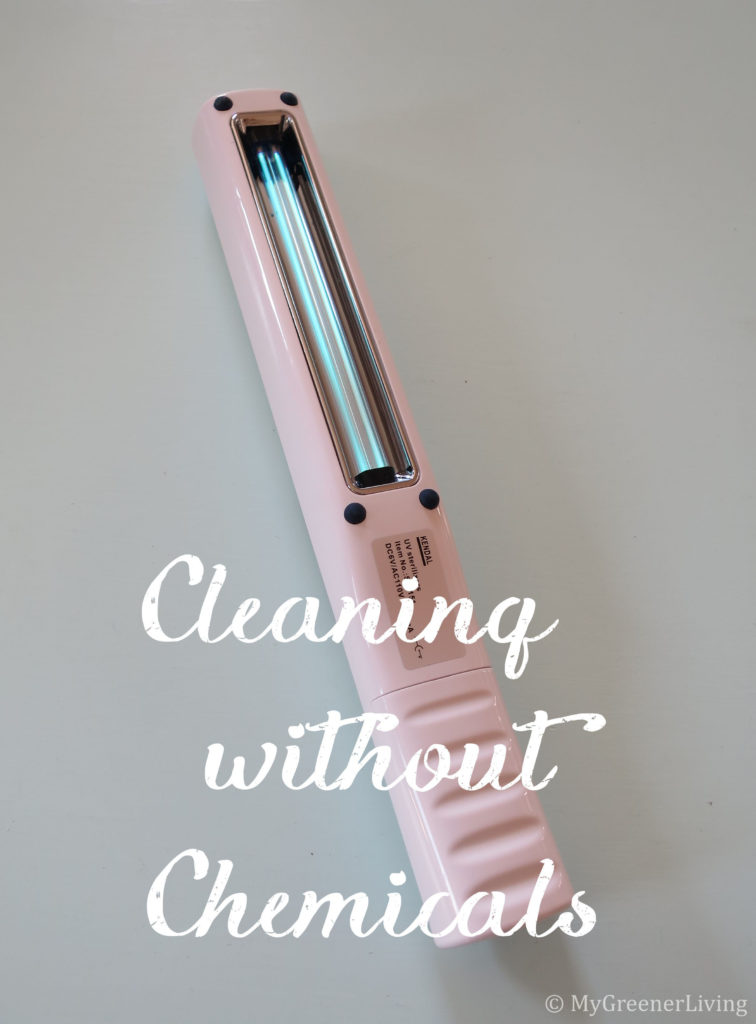
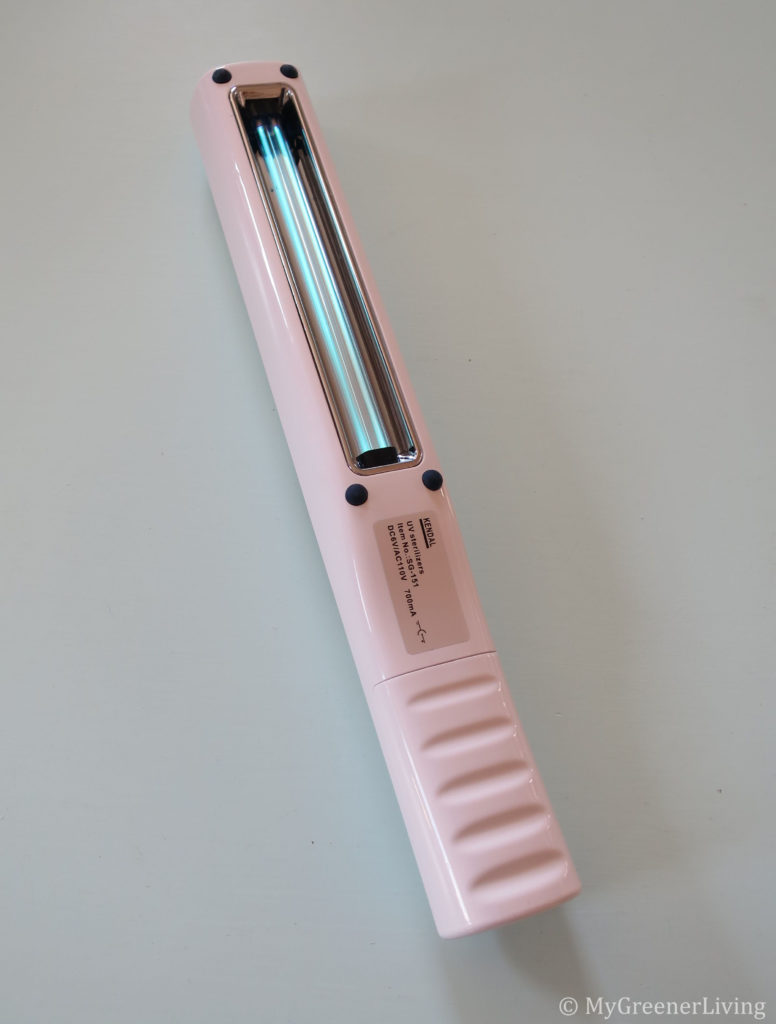
Sometimes, I take it one step farther to double “sanitize.” (The OxiClean soaking is the first sanitization.) I either iron them (using heat to kill) or I use a UV light to sanitize.
Note: I am not a doctor or a scientist, and I cannot make claims about the effectiveness of using heat or UV lights to sanitize. I am only reporting my beliefs, based on my research and personal use.
How long do they last?
I have been using my reusable pads for about 2.5 years. I have been rotating through about 15 of these, and I use 1-2 per day about 7 days/month. So I end up using almost all of them each month. And they are holding up very well. As with most fabrics, the flannel layers get a little “fizzy” looking, but they have not pilled, and they are remaining absorbent and holding together very well. The reusable pads that I purchased, in particular, are holding up exceptionally well. The pads I purchased advertised 3-5 years use in a rotation of 10 pads, and based on my experience I expect to get 5 years at a minimum out of each.
How much to they cost?
Cost of reusable pads varies a bit, but the ones I purchased cost me about $28 for 5 (in 2015), and $62 for 10 (in 2016). So, 15 pads cost me $90. I estimate these pads will last at least 5 years. Assuming an average 28 day cycle, that’s 13 periods/year and 65 periods in 5 years. $90/65=$1.38 per period. I estimate that when I was using disposable pads/liners, I was using at least 15 per cycle. The (non-organic) liners that I used to use are $9 for 108, or about $0.75 per period ($9/108×15=$0.75). If I was using disposable liners now I would insist on organic cotton, which are $16 for 72, or about $3.33 per period ($16/72×15=$3.33).
Comparing cost of a reusable pad to a conventional disposable pad, the reusable is almost twice the cost. However, if I was using organic cotton disposable pads (in my opinion better for my body and a little better for the environment), the reusable pads are less than half the cost. Additionally, to me it’s about more than just the money. A reusable cotton pad is more comfortable, better for my body, AND better for the environment.
Can I DIY?
Absolutely! If you can sew, you can make your own pads. As I mentioned, I have sewn a few of my own reusable pads, in order to customize the size and shape. It simply required me to purchase plastic-coated fabric (PUL), bamboo fabric, flannel fabric (though you could use the bamboo on the inner side as well as middle layer(s), cotton twill tape for wings, and plastic snaps. To be even more environmentally friendly, you could sew on metal snaps.
Would you like to see instructions on how to sew reusable pads? I could write a post about that if anyone is interested! Let me know in the comments, or by sending me a private message using the form on my About Me page!
Have you tried any alternative products to reduce waste with your period?

