It seems like “zero waste kits” are all the rage in the zero waste world right now. While this is not a zero waste blog and I don’t consider myself to be zero waste, this is something I strive for and I do try my best to avoid waste generation as much as possible. To help me as a I strive towards that goal, I built myself a “zero waste kit” that I carry in my purse.
Disclaimer: This post contains affiliate links. See my Disclosure Policy for more information.
I have this zero waste kit with me at work, when I go out to restaurants, when I go to my friends’ places, when I go to cookouts. It is super handy – I am never without a drinking vessel, utensils, or a napkin!
What is in this zero waste kit?
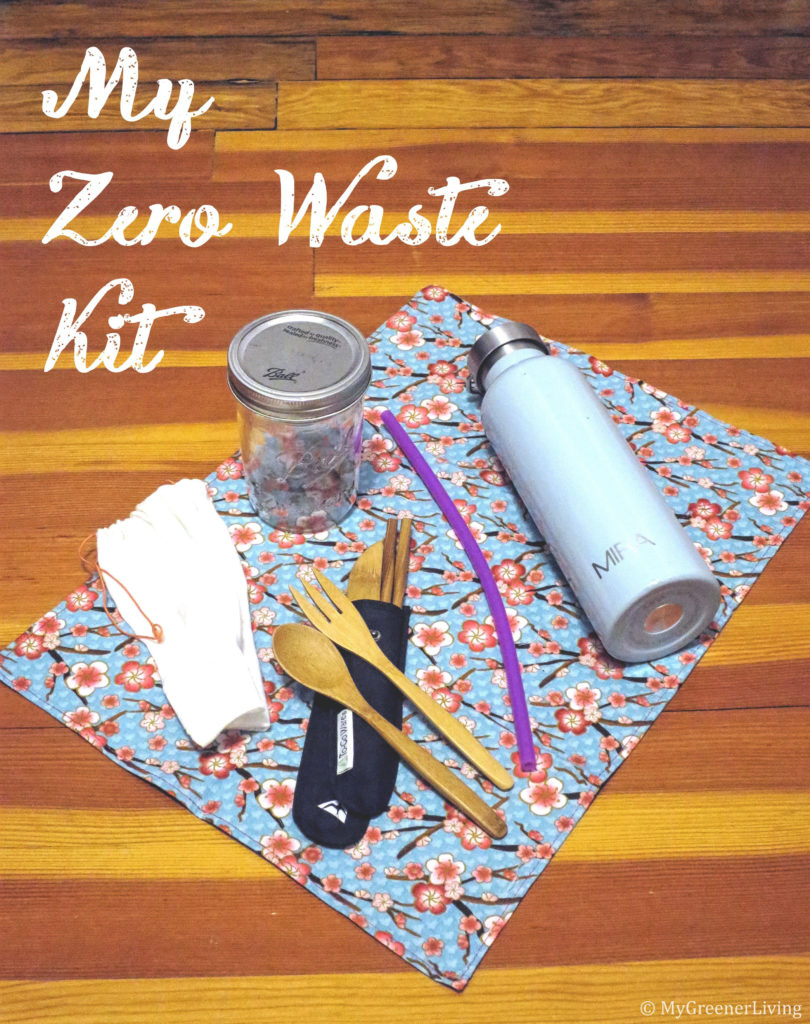
My kit has:
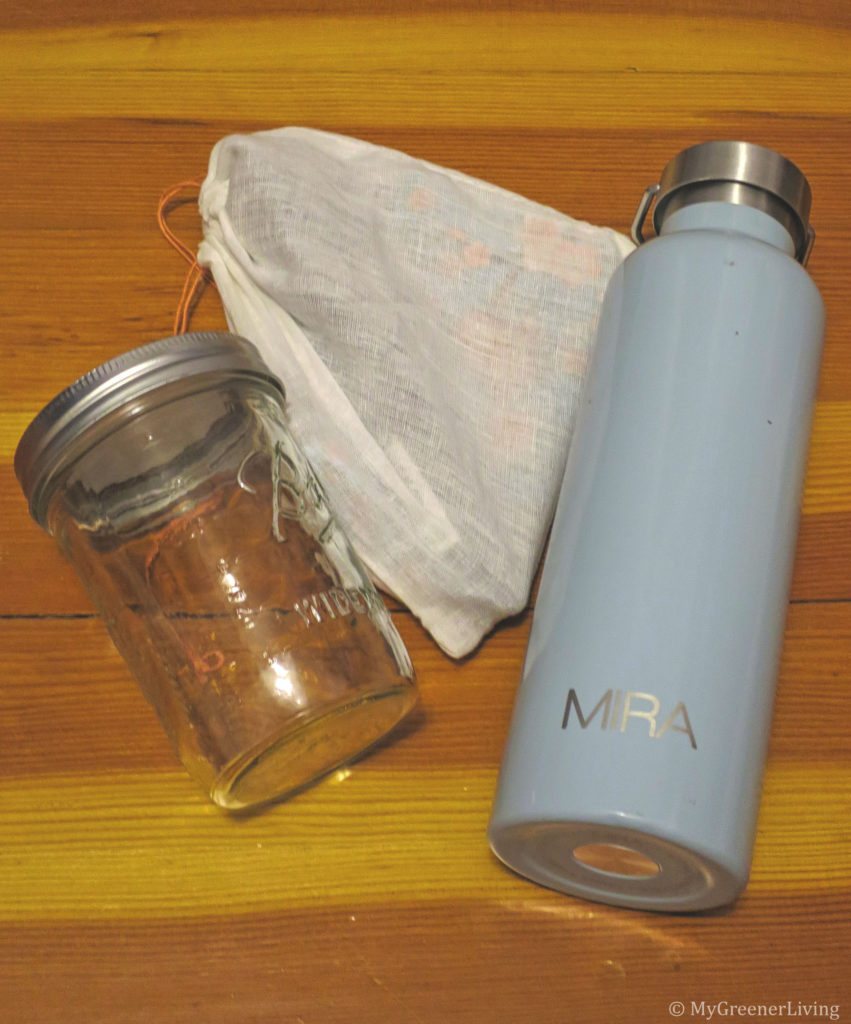
- a reusable metal water bottle (this is my #1 item – I never go anywhere without it);
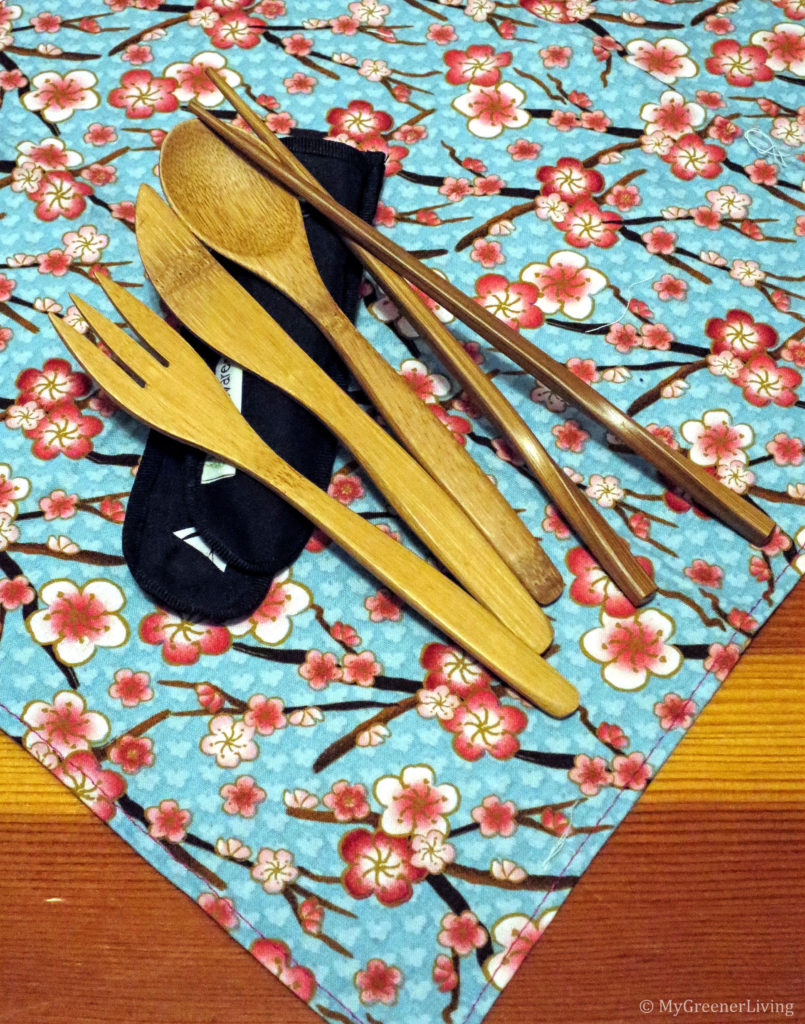
- a travel utensil it with a spoon, fork, knife, and chopsticks in a little carry case;
- a 2 cup wide mouth mason jar;
- a cloth napkin; and
- a silicone reusable straw
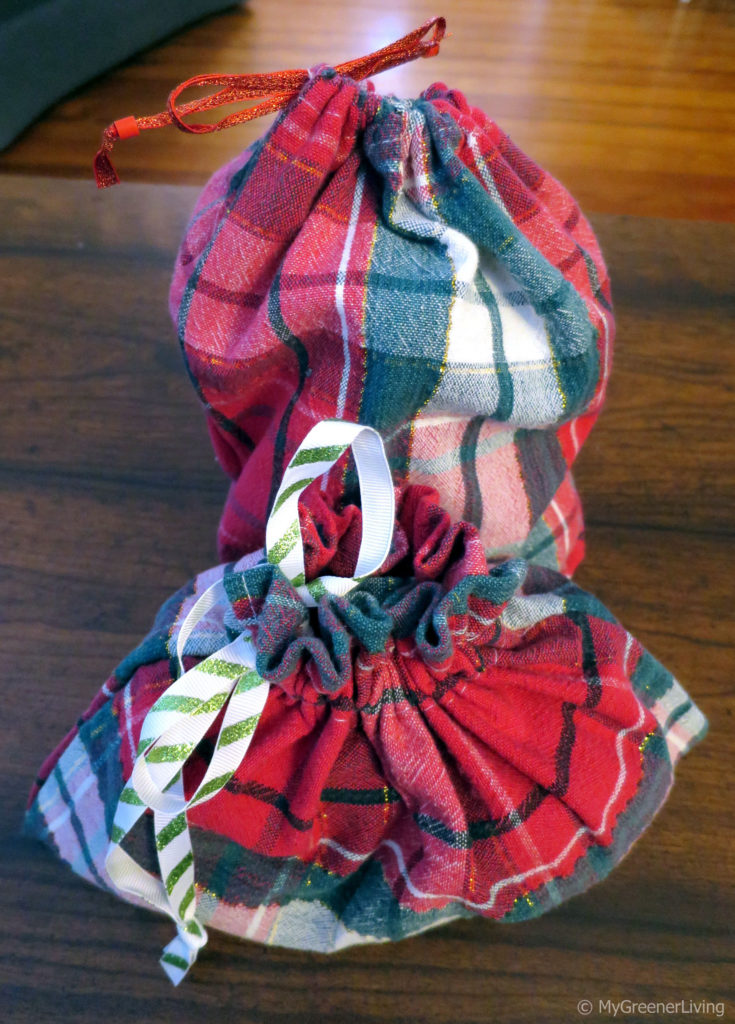
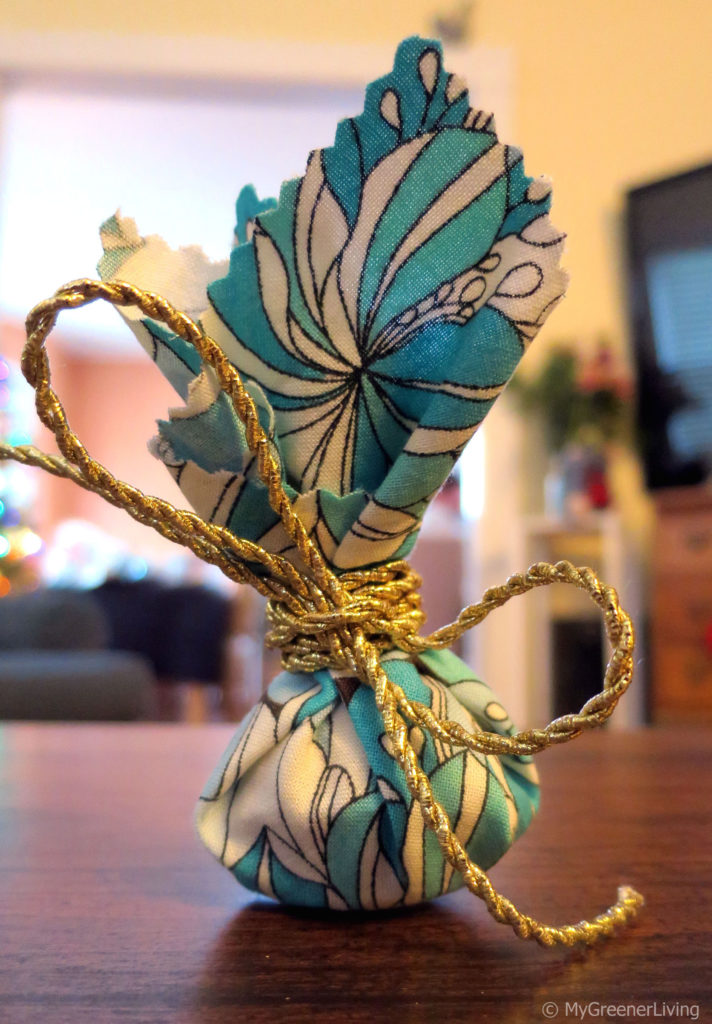
I also have a small cotton draw string pouch to contain the smaller items (straw, napkin, utensils) so I don’t lose them!
One key thing with zero waste that a lot of people overlook is to use what you have. If you go out and buy a bunch of new things, this is contributing to waste (manufacturing processes use a lot of electricity and water and may generate other waste). My zero waste kit was made of mostly things I already owned.
How do I use all these things in my zero waste kit?
Reusable water bottle – To me, this is the most critical thing in a zero waste kit. I use my reusable water bottle as my primary drinking vessel when I am not at home. I fill it at home, at public water fountains, from the tap at a friend’s house. By carrying my on water bottle, I both always have water when I want a drink, and I can avoid single use drinking vessels. At cookouts and parties, I just refill my bottle instead of taking a single use water bottle or cup. I drink a lot of water, and always use my water bottle. This reusable water bottle has definitely paid for itself many times over!
Bamboo utensils – I have used my travel utensils for eating a packed meal while travelling, for eating grocery store prepared foods (also usually when travelling since I cook most of my meals), and for eating at cookouts so I can avoid single use plastic utensils. I usually keep several sets of metal spoons/forks/knives in my desk at work, but if I forgot to bring these back after taking home to wash, I have the travel bamboo ones available to me. I love that I am able to refuse single use plastic utensils and still enjoy the convenience of using utensils!
2 cup wide mouth mason jar – First off, I love mason jars. I use them as my primary food storage container. These wide mouth ones are great because they’re wide enough to eat directly from the jar, they’re refrigerator-, freezer-, microwave-, oven- and dishwasher-safe. And the glass is designed to withstand high pressure from canning, so they’re really durable! I have dropped from the top shelf of my freezer (5 feet at least) and the glass always (yes, numerous drops) survives!
Why do I carry a mason jar around? Mason jars are great for leftovers! When I eat out, I often take some food home. I can avoid extra single use packaging when I pack my food in my own mason jar! Plus, it’s ready to go from my purse to the fridge to the microwave or oven for reheating. Mason jars are also good for cookouts, when friends and family inevitably cook too much and try to get guests to take some home. Rather than taking a zip lock baggie full of leftovers, I can fill my mason jar and again, it’s in a single use portion that can go in the fridge or freezer and easily be reheated in the microwave or oven.

Cloth napkin – Cloth napkins are handy to have around. I use it any time I need a napkin, such as when I grab a meal out while travelling, or am having a snack on the go. It can double as a hanky if I need a tissue when I am out. I use it to dry my hands to avoid using paper towels or the air dryer in public restrooms (paper towels are single use and not easily recycled or composted, and air dryers spread germs). I really started doing this more after spending some time in South Korea – it is so common there that most public restrooms have neither paper towels or air dryers. I also use my cloth napkin as a mini placemat, or to keep a piece of fruit clean if I want to tuck it in my purse for later. My cloth napkin is really versatile and frequently allows me to avoid single use products when I am away from home.
Silicone reusable straw – I don’t usually drink with a straw, but if I ever want to, I want to make sure it’s one I am reusing! Typically I am drinking straight from my reusable water bottle. If I am in a restaurant and get a large amount of ice which makes sipping from the glass difficult, I pop in my reusable straw. It’s also great for smoothies, which I prefer to drink through a straw. If I decide to indulge in a milk shake, my reusable straw is a great way to cut out a piece of waste. I choose a silicone straw (rather than bamboo, stainless steel, or glass) as my reusable straw in my zero waste kit because it is light and flexible. Since I have seen the question come up a lot, I’ll share with you soon my evaluation of different types of reusable straws.
You mentioned not buying new things for your zero waste kit. Where did you get all of these items?
Reusable water bottle – This one I splurged and bought. Years ago I used plastic reusable water bottles. I eventually decided that I did not want to consume food or beverages out of plastic if at all possible, so I saved the couple plastic water bottles I had for other uses (storing my orchid water with orchid food mixed in, and storing vinegar-water solution for soaking fresh produce). I bought an inexpensive stainless steel water bottle at Marshalls, which ended up rusting in a couple years. That bottle was recycled, then I did extensive research to find a water bottle that I really liked. I selected the Mira water bottle because it contains no plastic components, and most critically (for me) was that no plastic contacts the water. Just stainless steel inside the bottle, stainless steel inside the lid, and the silicone seal on the lid.
Bamboo utensils – I could have just used some utensils from my set at home. And in the beginning, I did just that. I wrapped a fork and spoon (I don’t often need a knife) in my cloth napkin and carried that around. Then several years ago, my mom got this travel bamboo utensil kit as a free gift with a subscription to the Audubon Society and she didn’t plan to use it, so I took it for my zero waste kit. However, I just found what I think is the same item on Amazon, for those of you who really want it.
2 cup mason jar – I have been using mason jars for years for canning and as my primary food storage containers. I have these on hand at home, and just grabbed one from my stash to go in my zero waste kit. Any container with a seal could be part of a zero waste kit. Depending on preferences, one could use a pyrex jar, tupperware, zip lock bag, leftover takeout food container, or something else already owned.
Cloth napkin – A cloth napkin in a zero wast kit could be any reusable, washable piece of cloth. A bandanna, a handkerchief, a cloth napkin from an at-home collection of napkins, a washcloth, a paperless paper towel, a fabric scrap. I made this cloth napkin from a heavily discounted remnant that I found. It almost perfectly matched a beautiful Japanese table cloth that had been gifted to me, so I picked up this fabric to make cloth napkins for my dinner table. I loved the pattern so I decided to include one of the napkins in my zero waste kit.
Silicone Straw – This is another item that I bought new, though I did not specifically buy it for my zero waste kit. My mom likes drinking from her reusable stainless steel water bottle with a straw. She would typically reuse a “single use” straw from Dunkin Donuts until it developed cracks and started leaking. The annoyance with these straws was that it either was tall enough to extend out of the bottle, but when the cover went on it would bend the straw and it would crack quickly, or the straw would be cut short enough that the cover would close, but then she’d have to fish around in the bottle for the straw which was a pain (and could introduce bacteria from her hands into the water). So when I saw reusable silicone straws on Amazon, I really wanted to buy my mom one for her water bottle. I decided to buy a multi-pack so I could try a small straw (0.24″ diameter) for myself for things like water or iced tea, and a slightly larger straw (0.32″) for my smoothies. As for the other straws in the multi pack: the two largest (0.47″) seemed way too large for anything, but I have two friends who love bubble tea and agreed that these straws look perfect for that, so I gave those two away. The 0.39″ diameter straws still seem too large, but I am hoping to find a good, reusable use for those soon!
Carry bag – I found the little cotton drawstring bag in my closet. I think it came from a gift I received in the past. An alternative would be to use a reusable bag – then you would have that for shopping, too! I do actually always have a reusable bad with me. A couple are stashed in my car, and another couple in my purse (they fold up super small!) I use one of these reusable bags to carry all of my zero waste kit if I am not taking my purse with me.

Cost for a zero waste kit
Cost for a zero waste kit varies greatly and really is whatever you want it to be! It could be “free” if you already own the items you want to put in a kit. It could be a few dollars if the items not already owned are purchased at a thrift store. Many people have multiple reusable water bottles, so you could ask friends if they have extra (water bottles or anything you want in your kit). Buying or acquiring second hand is great for the environment because it cuts out the manufacturing waste/energy expense of the used but new-to-you item. Alternately, you could purchase everything new (because you want to – that is perfectly ok! Or because you just don’t have a lot of possessions – in which case I am envious of your minimalism!). I estimate ta zero waste kit could cost $30-$50 if items were purchased new (price greatly depends on the specific items purchased; I know water bottles vary very a lot in price).
Do you have a zero waste kit, or an item or two that you often carry around that allows you to reduce waste? Share with us in the comments below!