
It’s finally starting to feel like spring here in Rhode Island, and this past weekend I decided I wanted to get a head-start on some seedling sprouting.

Disclaimer: This post contains affiliate links. See my Disclosure Policy for more information.
Sprouting Seeds Indoors
Why Sprout Indoors?
In some climates, specifically those with a shorter growing season, it can be beneficial to sprout seeds indoors before planting them outside. This gives the plants a few weeks longer to grow, which could mean a lot more yield of whatever you’re growing at the end of the season.
Here in coastal Rhode Island I am in zone 7, with about a 7 month growing season. I want to maximize the number of long sunny days that my mature plants will see, so I try to get them growing as early as I can. The Old Farmer’s Almanac gave me an estimate for the last frost date in my zip code (late April), so I planted my seeds so they will be sprouting indoors about the time of the last frost. I will then let the sprouts grow for a couple weeks inside, in a sunny window, taking them outside for a portion of the day over the course of the week leading up to outdoor planting (if the temperature will be in the mid 40’s F or higher) to “harden off” the sprouts. After a couple weeks and once I am sure the last frost has passed, I will transplant my seedlings outside for the season.
Frugal, biodegradable newspaper seed starters
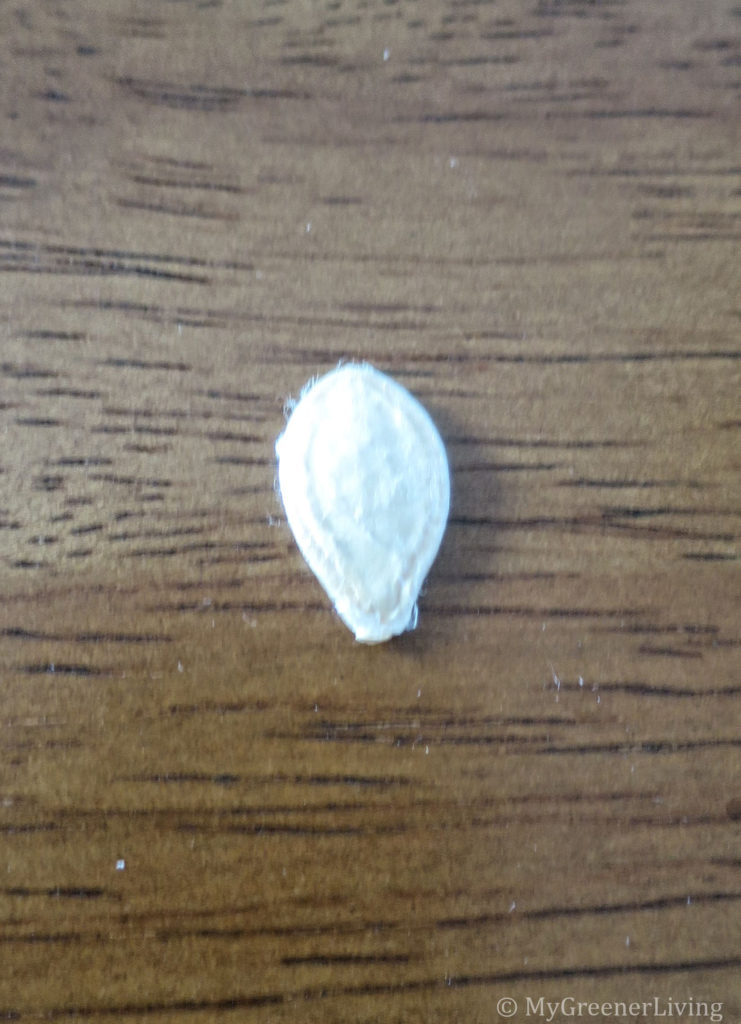
I wanted to sprout seeds inside, but I did not want to have to purchase supplies if I could avoid it. Frugal and zero waste? Yes, please! Soil wouldn’t be a problem; I have more fresh compost than I can use – one full half of my 37 gallon compost bin has been rotting all winter and is ready to use – and I have plenty of potting soil left over from previous years’ vegetable and flower growing. I considered sprouting my seeds in a egg carton since that is biodegradable and could be planted directly in the ground, but the first seeds I planned to sprout were spaghetti squash seeds from last year’s farm share/CSA, and I wanted to give them more space to grow before transplanting outside.
As I always do when I have a question, I did a quick Google search and found a whole bunch of results for newspaper seed starters. Shredded newspaper has been the primary “brown matter” component in my compost for the past few years so I know it is safe for gardening (though it is likely not organic and may contain GMOs – be aware if these are of concern to you). I decided I wanted my newspaper “pots” about 4″ tall, so I cut strips of newspaper 4.75-5″ wide, cut lengthwise down the newspaper. I experimented with 1, 2, 3, and 4 sheet thick pots, and like 1 sheet best.
Supplies
- Newspaper – about 1 full sheet for every 4 seedling starters
- small amount of paper tape, if desired
- potting soil and/or compost, enough to fill all newspaper seed starters
- scissors
- 1 can – soup, soda, etc. for shaping seedling pots
- container for holding the seedling starters, waterproof recommended
- seeds – whatever you want to plant
- water
- space/a container of good soil to plant to seedlings outside
- recommended: gardening gloves
- recommended: small shovel for filling newspaper seed starters
Instructions
1. Cut newspaper into strips lengthwise, about 3/4 to 1″ wider than desired seedling starter pot height.
2. Lay the newspaper strip flat and position a soup or soda can over the strip of paper so that 3/4″ to 1″ extends beyond the end of the can. Roll the paper over the can, folding the paper over the end as you roll.
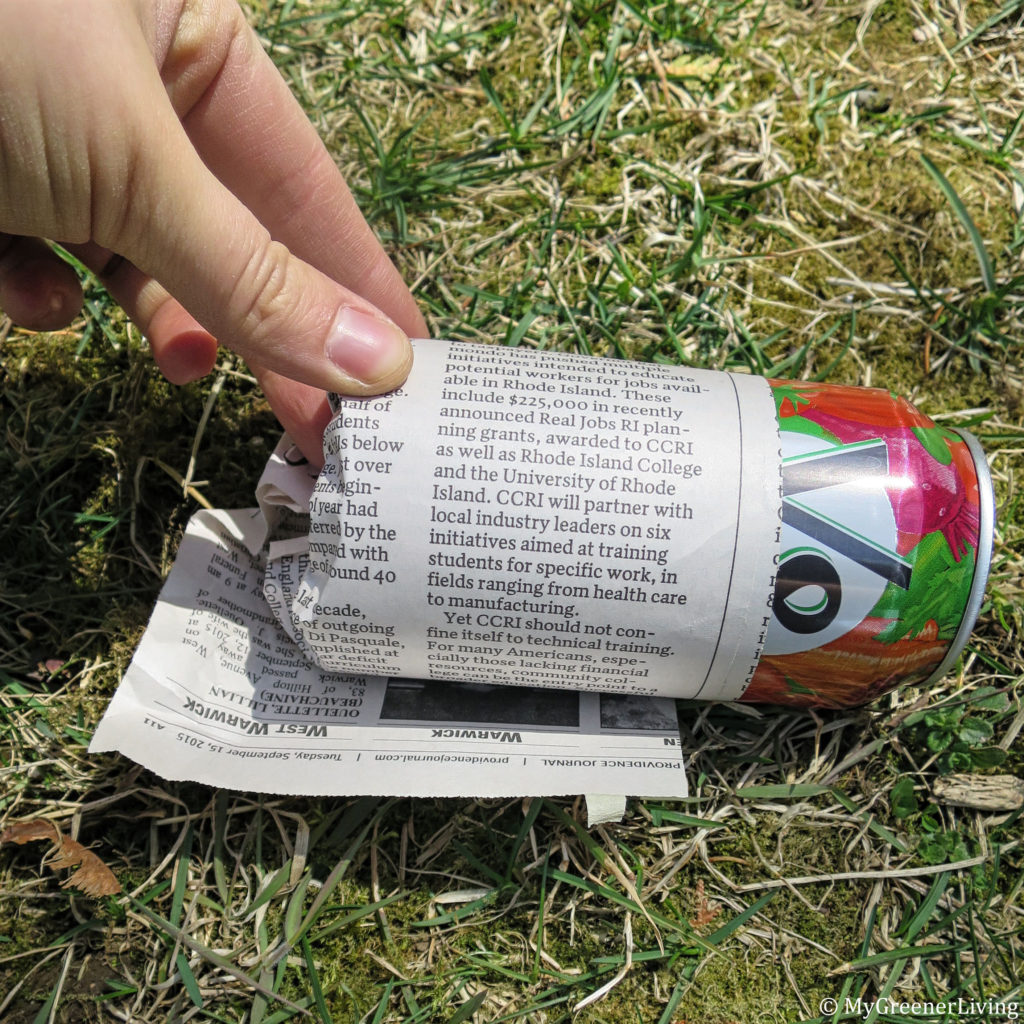
3. Once all the paper has been rolled, secure the outer edge of the newspaper with a small piece of paper tape. (You could try folding the top edge over on itself all the way around but I had not luck with this and instead used just a tiny bit of tape – about 1/4″ x 1/4″ – to secure each newspaper seed starter.)
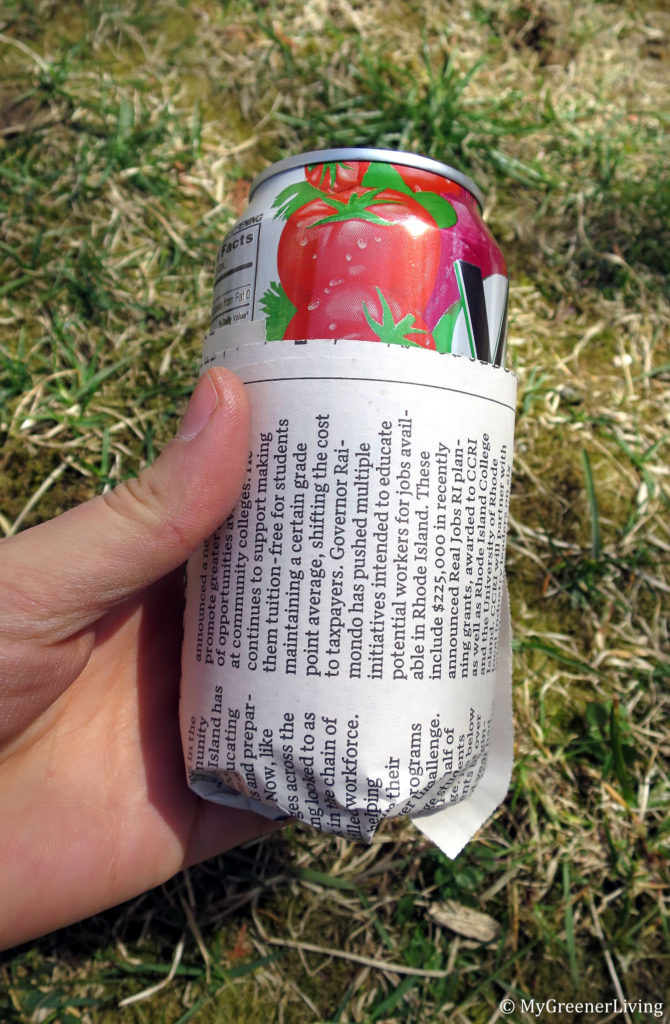
4. With one hand holding the bottom of the newspaper pot folded over, fill with desired soil mix and loosely pack the soil. The newspaper seed starter pots will hold together better once filled with soil. My soil mixture was about 1/3 to 1/2 compost and 2/3 to 1/2 last year’s potting soil.
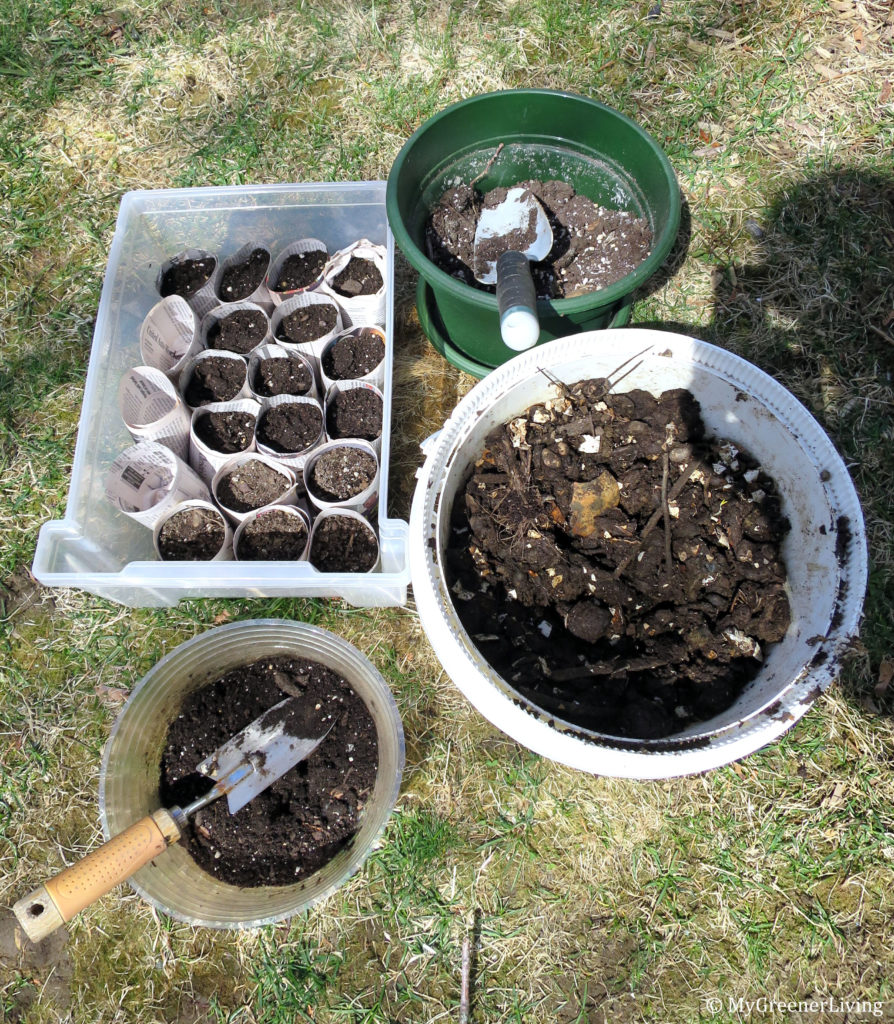
5. Arrange the newspaper seed starters in a container to help them stand upright and to make it easier to move them around all together. Something waterproof is helpful since the newspaper will get soggy when watering the soil.
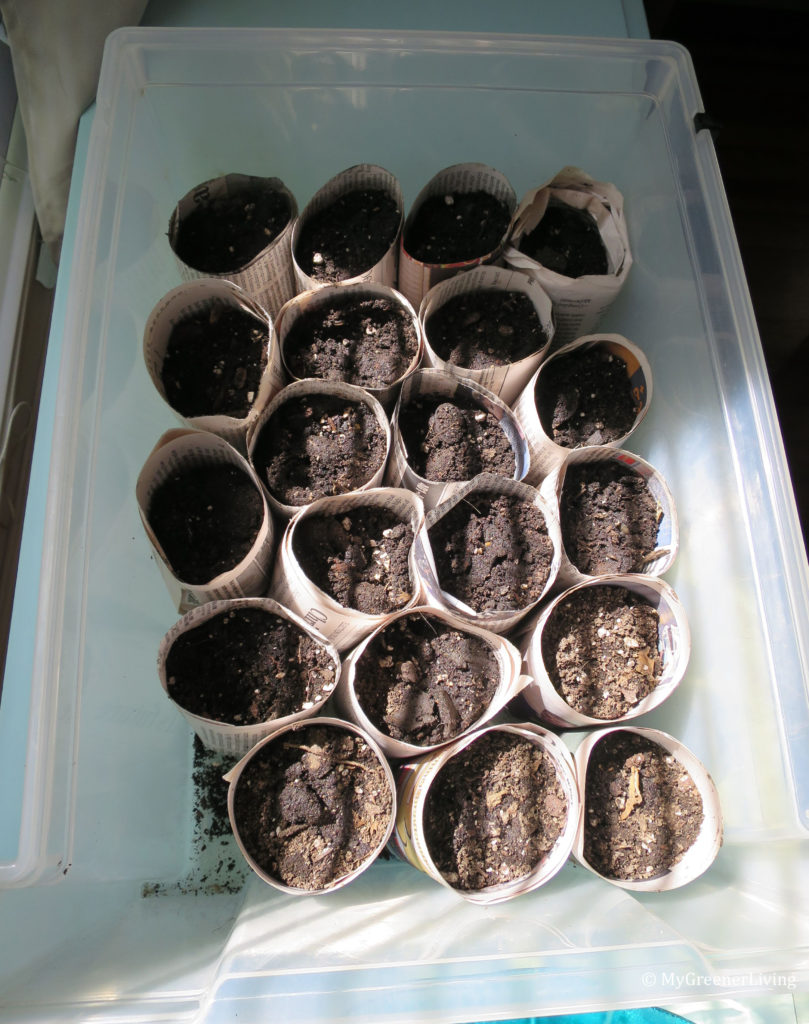
6. Moisten the soil, then plant seeds according to guidance for the specific seed variety used. Hint: if using a seed that has a pointed end, like a squash or watermelon seed, plant with the pointy end (called the radicle) down so the plant doesn’t have to work as hard to orient itself properly!
7. Once seeds have sprouted, “harden off” or acclimate the sprouts to outside conditions over the course of the week before planting by leaving outside for an hour one day, then two hours the next day, etc. This avoids shocking and stressing the plants when they’re planted outside.
8. Plant sprouts outside in the garden, garden beds, or pots. Space according to guidance for the specific type of plant. Dig a hole about the size of the newspaper seed starter. The newspaper pots can be planted, though I prefer to remove the tape and gently unwrap the newspaper, planting just the soil and sprout. I then rip up the newspaper and put it in my compost bin.
9. Care for your plants throughout the growing season and enjoy the fruits (or vegetables!) of your labors.
Have you sprouted seeds inside? Do you have a preferred seedling starter pot? Share your experiences in the comments below!