Drying Laundry More Naturally

One of my earliest posts talked about my laundry detergent recipe.  It’s about time I shared my tips for drying laundry more naturally – in a more environmentally (and clothes) friendly way!

Drying Laundry More Naturally


Disclaimer: This post contains affiliate links.  See my Disclosure Policy for more information.


Line Drying

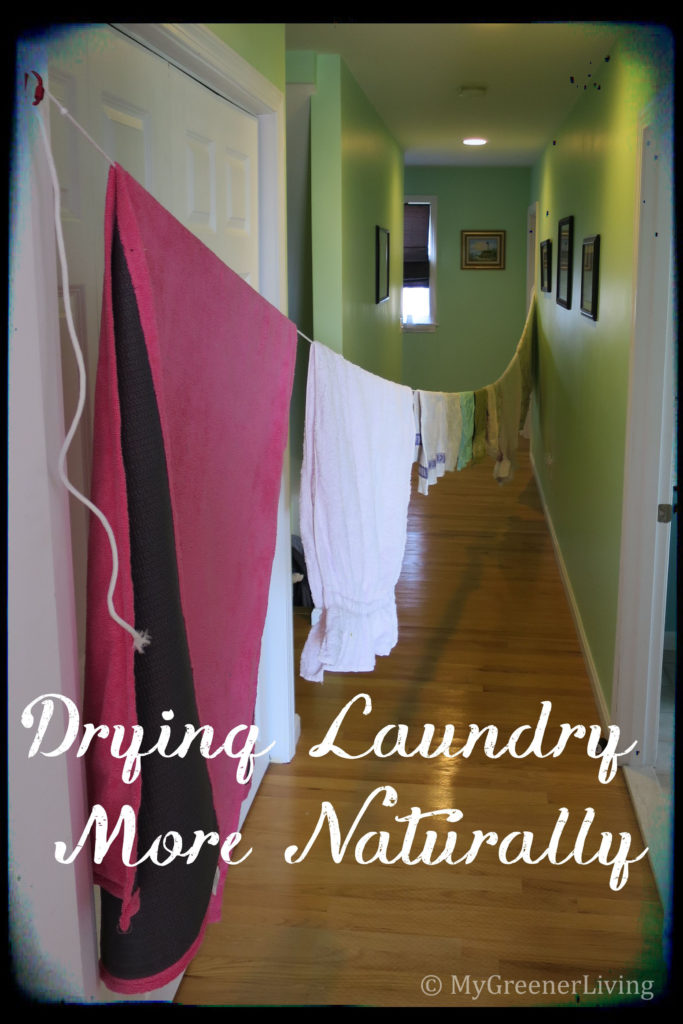
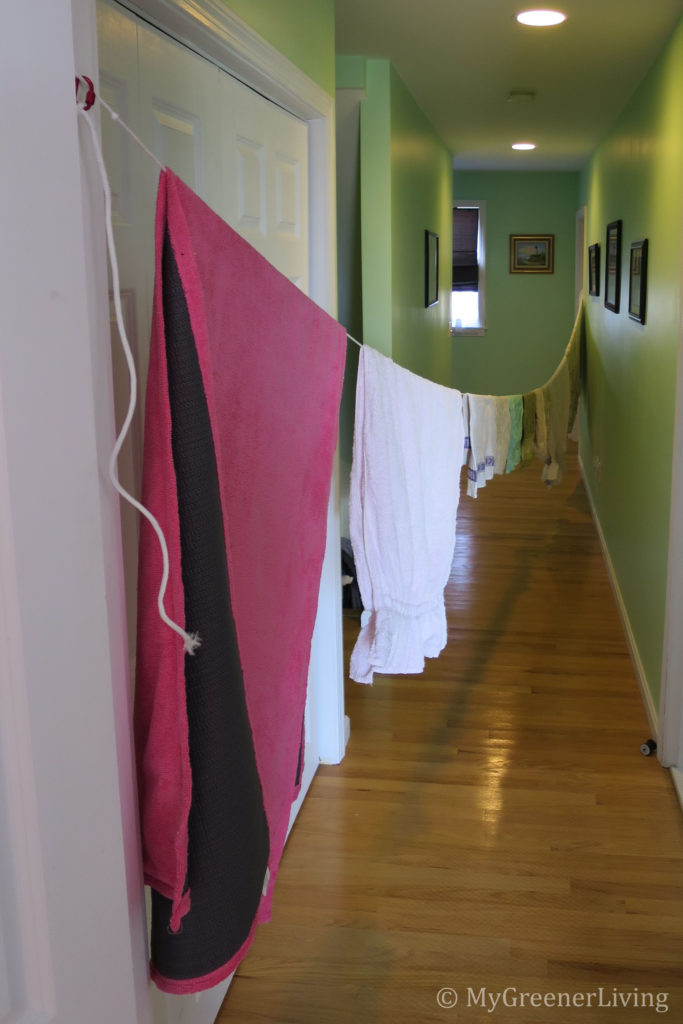
The most environmentally friendly way to dry clothing and linens is to line dry.  This requires no energy and no special products.  I hang dry most of my shirts, sweaters, and jackets on their hangers.  Other clothing can be draped over doors, shower doors or shower curtain rods, or you can purchase clothes line for less than $10.  

I have a long hallway in my house adjacent to the laundry closet.  A length of clothes line tied between door hinges on opposite sides of the hallway made a great space for drying laundry more naturally.  I use this to dry sheets, towels, and some clothes.  In the summer, I hang these items over my deck railing or on a clothes line strung across my hammock stand.  

Line drying inside
Line drying inside

Dryer Drying

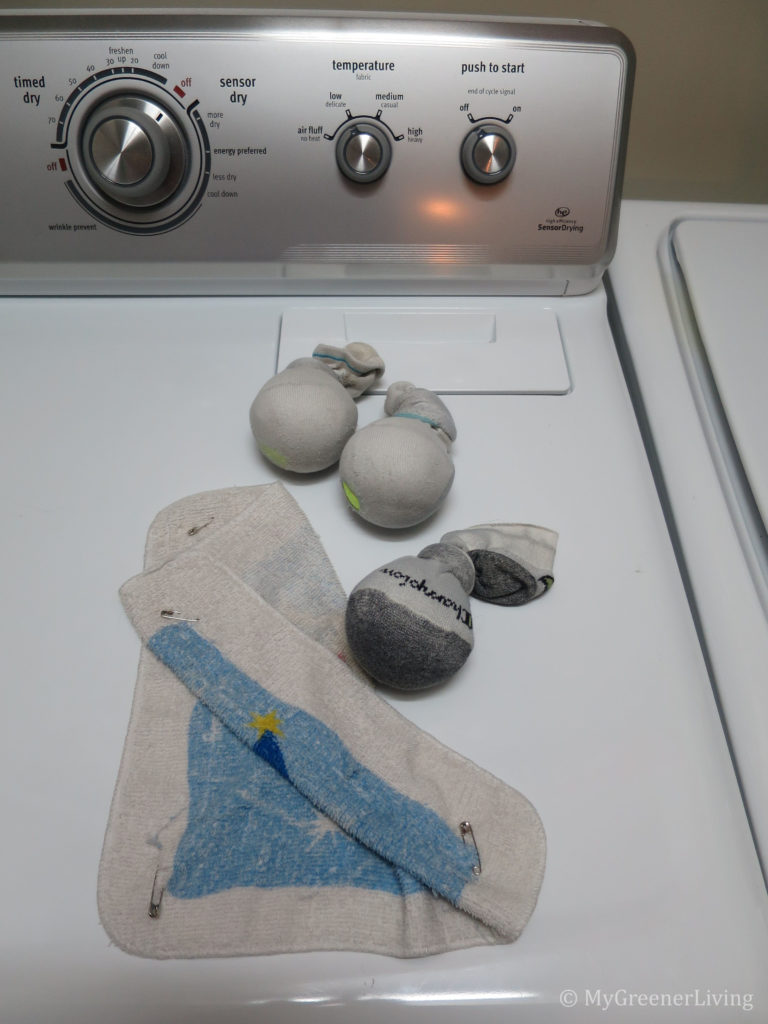
For heavy items that take a long time to dry such as my bed quilt or jeans, or when I just don’t have time to air dry my laundry, I still use my clothes dryer.  I dry my clothes on low heat both to save energy and to protect my clothes from heat damage and shrinking.  

Anti-Static & Faster Drying

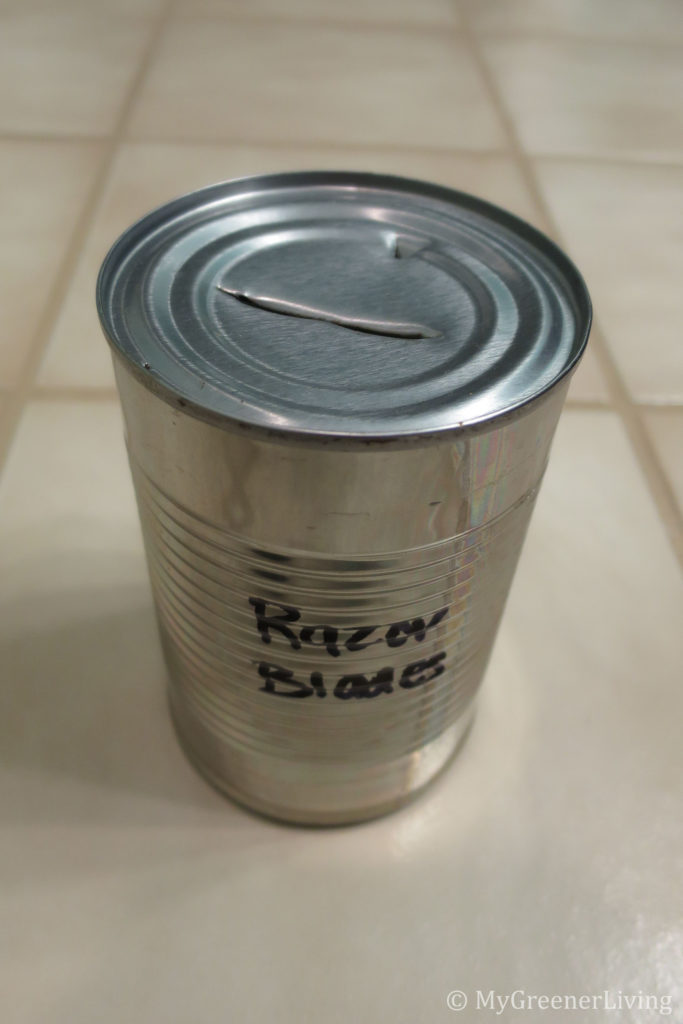
I found a method for drying laundry more naturally that still reduced static.  Instead of using chemical-laden dryer sheets for anti-static, in each load of laundry I also put in the drier an old wash cloth with safety pins in the corners.  The safety pins in the wash cloth help to dissipate static each time they come in contact with the metal dryer walls.  I also toss in a few tennis balls, each tied in their own old sock (to prevent color transfer onto the drying clothes).  The tennis balls help to move the clothing around in the dryer and prevent it from all being “glued” to the dryer drum, so clothes dries faster.  

Caution: It was recently brought to my attention that tennis balls contain latex.  I recommend that you do not use tennis balls in your dryer IF you or anyone whose clothing or linens are being dried in the drier has a latex allergy due to the unknown effects that this may have.

tennis balls and safety pins in a cloth for faster and static-free drying
Machine drying without chemicals
Tried and retired anti-static attempts
Dryer sheets

I used to use dryer sheets.  I initially sought out a replacement because I wanted to be able to dry my clothes without producing any waste.  As I researched, I learned that dryer sheets ruin the moisture-wicking properties of some clothing, because they essentially coat all fabric with a waxy coating.  Dryer sheets also coat the screen on the dryer lint catcher with wax.  This can interfere with the heat exhausting from the dryer, increasing the temperature in the dryer and causing longer dry times as moisture has a harder time escaping through the vent.  

Aluminum foil ball

Crumpling up a ball of aluminum foil and tossing it in the dryer will help to reduce static, and is an effective method for drying laundry more naturally.  Similar to the metal of the safety pins, the foil ball attracts static from the cloths and dissipates it against the dryer wall.  However, I found that the foil ball got too smooth within 1-2 washes, and then became ineffective.  I didn’t like needing to dispose of the foil (I recycled it) so frequently, so I tossed this trick.  

Wool Dryer Ball

I have heard that wool dryer balls are very effective at reducing static in clothing dried in a clothes dryer.  While it is supposedly a great method for drying laundry more naturally, I am allergic to wool and did not want my clothes or myself to be in contact with wool on a weekly basis, so I have never tried it.  

Clothing Materials and Dryer Lint

As much as I try to reduce waste drying clothes, there is always some waste with machine drying: lint.  If the contents of the dryer are all organic materials (cotton, linen, bamboo), I collect the lint and throw it in my compost.  If I have synthetic fabrics (polyester), I throw the lint in the garbage.  

Note:  I have successfully dried many, many loads of laundry using these tricks.  I have found no indication of damage to the dryer or clothing, but I assume no responsibility if it doesn’t work out for you.  

tennis balls and safety pins in a cloth for faster and static-free drying
Machine Drying

Do you have any green laundry tips?  Please share in the comments!

A More Environmentally Friendly Way to Shave – Double Edge Safety Razor

In my American culture, most people shave.  I used to spend more money than I wanted on disposable cartridge razors.  Plus, these razors were made of multiple materials including plastic, which ended up in the trash every month or two.  I would stretch their use as long as I could to try to get my money’s worth, which would result in me cutting myself on dull blades.  Then I came across Trash is for Tossers’s Zero Waste Shaving post and I had my solution: the double edge safety razor.

Double Edge Safety Razor


Disclaimer: This post contains affiliate links.  See my Disclosure Policy for more information.


Double Edge Safety Razors

Double edge safety razors were used throughout the twentieth century and into the twenty first century.  While less common today due to the invention of the convenient disposable razor, the double edge safety razor is awesome: it’s very easy to use; I get a closer, smoother shave; and it’s inexpensive to purchase and maintain.  Plus, every part of the razor and blades are recyclable!    

What to buy

The double edge safety razor is another product that I recommend purchasing used.  As I have seen with so many products, they just don’t make things like they used to.  Quality of older razors is superb, plus you can look at the razor and see if there is rust damage from the razor’s previous use.  With a new razor, you have no indication of how it will stand up to wear.  Other benefits of purchasing a used double edge safety razor are cost savings and environmental benefit – as I mentioned in my Earth Day Post, resources like water and electricity go into making every new product, but these resources are saved when you buy used.

I did some research on what type of vintage razors people liked, the searched online for available razors.  I settled on a Gillette Super Speed Flair Tip G-4 1961 double edge safety razor.  My razor arrived clean, easy to open and close, has a good weight balance in my hand, and I have been happily using it for almost 2 years.

Double Edge Safety Razor

I also researched types of blades to use with the double edge safety razor.  I purchased a 100 pack of Astra blades which are supposed to be very thin, and I am quite happy with them.  The blades essentially have 4 cutting edges: the top and bottom of the two edges.  Blades last me about a month in the summer and two months in the winter (when I can hide my stubbly legs under jeans).  I flip the blade after 2-4 weeks depending on how frequently I am shaving.

Where to buy

I found my double edge safety razor on ebay.  If you’re looking for vintage double edge safety razors, I recommend checking ebay, craigslist, Amazon, thrift stores, and yard sales.  If you want to purchase a new razor, there are several companies that manufacture them and I recommend doing a Google search to find what you’re looking for.  

How to use a double edge safety razor: for women

When I purchased my double edge safety razor, I read about how to use it.  I knew that shaving creams and gels were formulated to work with disposable razors and wasn’t necessarily the best thing to use with the safety razor.  Many instructions that I found discussed the traditional use of the double edge safety razor for shaving men’s faces, including lathering the soap with a shaving brush, working soap onto the skin to be shaved (in a small area at a time), and shaving.  [Note: this is the paraphrased version.  I highly recommend men looking to shave their face read more thorough guidance to check out a video on the topic.] I tried this technique once and it took forever.  I knew I wouldn’t stick with it if shaving took much longer with the double edge safety razor than with a “convenience” disposable razor, so I decided to wing it and just apply soap directly from the bar to my skin.  And it worked great!  

Double Edge Safety Razor

How I shave:  Rub the bar directly over all the skin to be shaved, then shave while holding the razor at approximately 30 degrees from the skin, and without applying pressure.  Let the weight of the razor apply the pressure.  Be careful around around areas like your ankles and knees since there are more contours to work around.  I also use this water shutoff valve to turn off or reduce the water flow while I am applying soap and shaving, to keep the soap from being washed off and to save a little water!

Cautions:  As with any razor, if you are not careful you could cut yourself.  The blades for the double edge safety razor are very thin and sharp.  I’ve only really cut myself once, when I when I decided to shave without my contacts in (I’m blind and can’t see that far without my contacts…).  I also found that shaving while cold is much more dangerous – the double edge safety razor slices off the top of goose bumps, where the disposable cartridge razor often glides over them. Ow!

Disposal

Double edge safety razors and their blades are stainless steel, and can be recycled wherever stainless steel can be recycled.  Most (all? – every one I have checked) municipal recycling facilities accept stainless steel.  I made a safe blade storage container by cutting a slit about 1″ long and the width of my knife blade in the top of a can of broth.  I drained the broth (and used it), rinsed the can, and let dry for several weeks.  When I am ready to dispose of a blade, I drop it in the slit in the top of the can.  When the can is full or when you are ready to recycle it, just recycle the can with your municipal recycling or at whatever facility to use to recycle steel. 

Note: Be sure not to cut the slit in the can too wide or the blades may be able to fall out.  I shook my can upside down to make sure none of the blades fell out.  Now I’m confident that the opening is small enough that it is very unlikely a blade can slip out and cut someone.

a can with a slit in the top - storage for used double edge safety razors
Used Blade Storage Before Disposal
Cost Comparison
Traditional disposable blade razor

Razor Handle (handle plus one or two blade cartridge): $10.00.  Factoring out the cost of the blade cartridges, the cheapest I could get the handle only is $6.00

Cartridge: $3.00 (assuming purchase of a 4-pack for $12 – with coupon or one sale)

Shaving Cream: $2.50 (assuming I purchased on sale)

One cartridge and one bottle of shave gel would last at most 2 months.  My monthly cost was ($3.00/2+$2.50/2=) $2.75, plus the upfront one time cost of $6.

Double edge safety razor

Razor: $23 (this varies – you can get them cheaper or more expensive)

Blade: $11 for 100 blades; $0.11 per blade

Soap (I use my own): $1.24 per 4-oz bar

One blade lasts me at least 1 month.  1-4 oz bar of my soap lasts 2 months or more.  My monthly cost is ($0.11+$1.24/2=) $0.73 plus the $23 initial cost.  

The upfront cost of the double edge safety razor is higher than a disposable cartridge razor, but within 9 months the double edge safety razor has paid for itself, and after that I am saving about $2/month or $24/year, plus I am helping the environment!

Have you found alternative ways to save money or resources while shaving?