Summer is nearly here, and it’s time for another sunscreen post! As my regular readers may have noticed, sunscreen and sun-protection products are a recurring topic (2016, Feb 2017, March 2017, June 2017, 2018). This is because it’s a topic that is very important to me. Sunscreen, and my struggles to find a sunscreen that protected my skin without causing an allergic reaction, is really the heart and soul of this blog – the reason I started it. You’re probably going to see at least one post about sunscreen or sun protection products every year 🙂 Now, it’s time for me to share my current favorite sunscreen with you.
Disclaimer: This post contains affiliate links. See my Disclosure Policy for more information.
Goddess Garden – (still) my favorite sunscreen
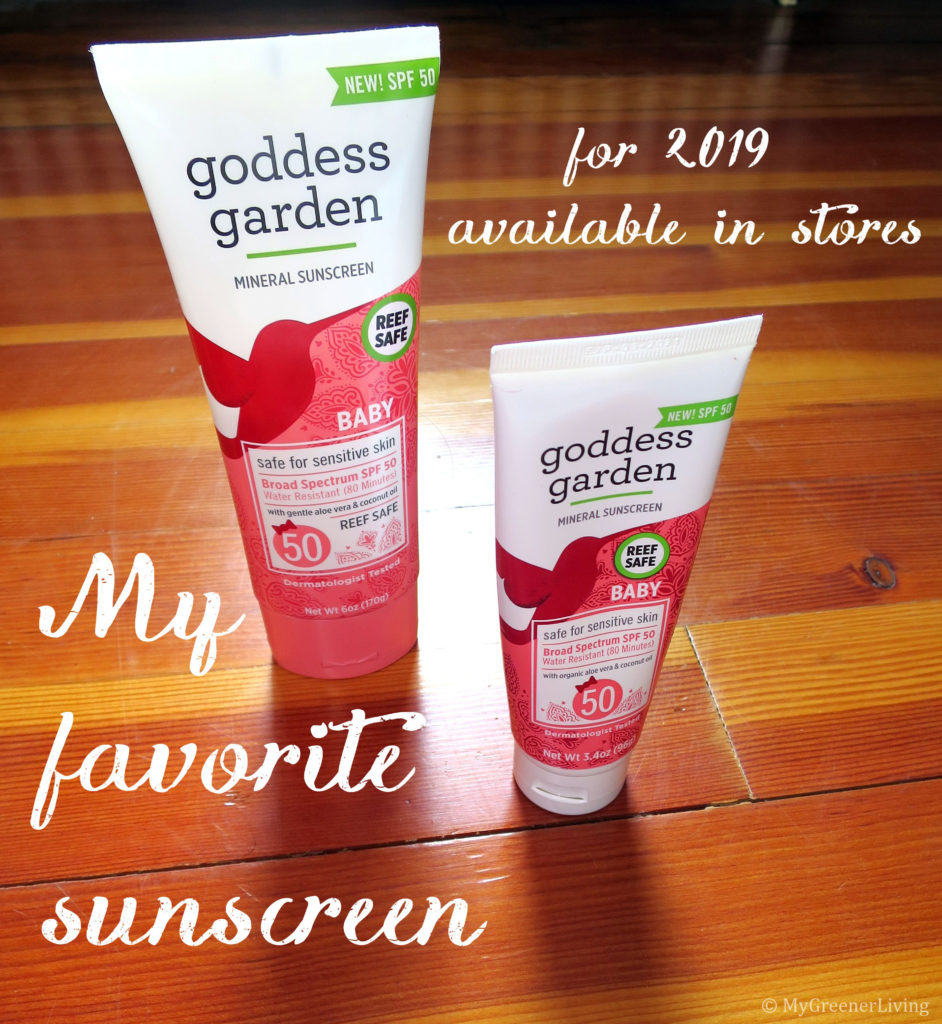
My current favorite sunscreen is Goddess Garden Baby/Kids SPF 50 Mineral Sunscreen. While the packages are different, the ingredients in the Baby and Kids sunscreens are identical; the FAQ states that in this 2019 formulation, the Baby and Kid’s sunscreens are the same.
My sunscreen journey
I used to think that I just burned through sunscreen really quickly. I used kid’s or baby’s sunscreen with the nasty harmful ingredients. (I didn’t realize it at the time that the ingredients were harmful – not many people did). All of these sunscreens itched on contact with my skin, but I didn’t want a sun burn or skin cancer. I’d put on SPF 30-50, and would be red within 15 minutes of going out in the sun. It took me until 2015 when I forgot to put on sunscreen one day and…did not turn red right away…to realize the red was an allergic reaction or chemical burn from the sunscreen, and not a sunburn. This is when I knew I needed to find a new solution.
2015 must have been just before the big environmental revolution. Because today, I see “reef-safe” in a lot of places, on a lot of sunscreens. Last year in Newport, RI, I saw sunscreen dispensers that dispensed a mineral based/reef safe sunscreen. Which for the most part is also Diana-safe. (Might not be my first choice, but at least does not have the worst of the ingredients.) Entire cities, states, countries are banning the chemical active ingredient sunscreens to protect coral reefs. If those chemicals are that bad for coral, it’s certainly awful for humans too. We just aren’t getting as sick, as fast, probably simply because our bodies are bigger (just my guess).

In the United States we have come a long way in the past 3 years in the area of natural/mineral-based/(harmful) synthetic-chemical-free/reef-safe sunscreens. Just over 3 years ago I wrote about Raw Elements sunscreen. At the time it was the best store-bought option for sunscreen that did not have any of the “bad” ingredients: oxybenzone, avobenzone, octisalate, octocrylene, homosalate, octinoxate, or para-aminobenzoic acid (PABA). This Environmental Working Group (EWG) article explains the concerns with these ingredients. Don’t get me wrong – Raw Elements is still an effective sunscreen, is free of all synthetic chemicals, and many people still love it (read the Amazon reviews!). But I don’t really like it. Because the inactive ingredients are mostly oils and butters (and nothing water-based to thin it out), it goes on slowly and leaves skin with a white tint, even after rubbing in a lot. Which takes forever.
I found Goddess Garden sunscreen in 2017 and was really happy with their sunscreen. Since my first post about this brand I have some new opinions that I’ll share here. But, for the past two years Goddess Garden has been my go-to sunscreen. And now, I am still sold on Goddess Garden and happy with their new formulation.
My Review of Goddess Garden Sunscreen
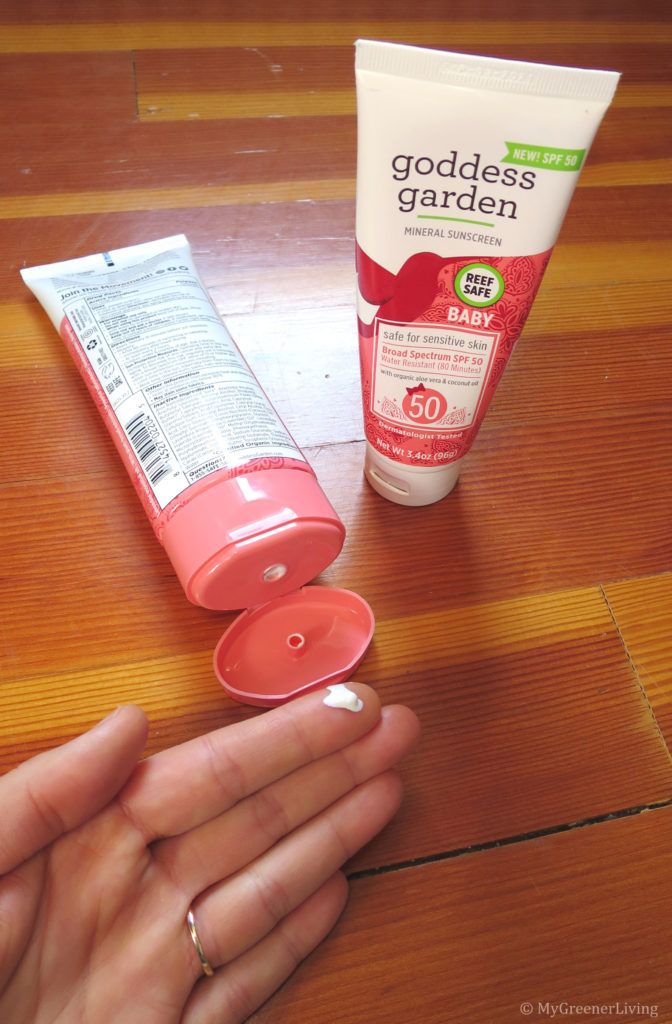
I love the 2019 formula of Goddess Garden Baby/Kids SPF 50 Mineral Sunscreen. Not just “I can tolerate putting this stuff on when I absolutely need it.” I actually kind of like the feel of the sunscreen lotion. It has moisturizing ingredients including shea butter, coconut oil, cocoa butter, and aloe. It also contains sufficient emulsifiers, to blend the water-based and oil-based ingredients together so the sunscreen lotion is smooth. This sunscreen blends into my skin easily and fully, and does not leave my skin tinted white. Do note that I am quite pale to begin with, so for those with darker skin tones, this sunscreen, like all zinc oxide (and titanium dioxide) sunscreens, may make skin appear lighter to some degree.

When I have this Goddess Garden Baby sunscreen on, my skin does not feel greasy. It really feels no different than when I wear my coconut oil moisturizer, or argan oil, or add a touch of my solid lotion bar when my skin is really dry. I can’t feel much difference between these, and none make me break out. The combination of light, smooth feel, well blending, and high SPF makes this Goddess Garden Baby/Kids SPF 50 my favorite sunscreen.

I have also switched my allegiance from spray sunscreen to lotion sunscreen. I initially preferred the spray because I thought it was easier to apply. But I have decided that the lotion is far less hassle. With the spray, I still needed to rub it in to get effective coverage, I felt like it never mixed as well in the can when I shook it as lotion mixes in the bottle. Also, the nozzle sometimes clogs, which is a huge hassle when I am out and need to apply sunscreen and can’t get it out of the can. The lotion just seems much more low-maintenance, and I am all about that! The one thing that makes me sad is that is is more plastic with the lotion (there’s just a little plastic and mostly recyclable metal can in the spray sunscreen) but it is worth it to know I will always be able to get my sunscreen out of its container when I need it.
Ingredients
I always check the safety of products on the Environmental Working Group’s website. The 2019 formulation is so new that it’s not listed yet, so I checked each ingredient individually. For reference, the most recent formulation’s ingredient list for the Goddess Garden SPF 50 baby sunscreen is here, and kid’s is here.

Since I know the formula will change over time, I have copied it below (as mentioned above, the ingredients are the same for the baby and kids SPF 50 sunscreen for the 2019 version).
ACTIVE: Zinc Oxide 20.0% INACTIVE: Aloe Barbadensis Leaf Juice*, Arachidyl Alcohol, Arachidyl Glucoside, Behenyl Alcohol, Bisabolol, Butyloctyl Salicylate, Butyrospermum Parkii (Shea Butter)*, Caprylhydroxamic Acid, Capryloyl Glycerin/Sebacic Acid Copolymer, Caprylyl Glycol, Cellulose Gum, Cetearyl Alcohol, Cetyl Alcohol, Citric Acid, Coco-Glucoside, Cocos Nucifera (Coconut) Oil*, Diheptyl Succinate, Ethylhexylglycerin, Glycerin, Lavandula Angustifolia (Lavender) Oil*, Lavandula Hybrida (Lavender) Oil*, Methyl Dihydroabietate, Microcrystalline Cellulose, Phenoxyethanol, Polyhydroxystearic Acid, Sodium Gluconate, Sodium Hyaluronate, Sodium Stearoyl Glutamate, Theobroma Cacao (Cocoa) Seed Butter, Tocopherol, Water. *Certified Organic Ingredient
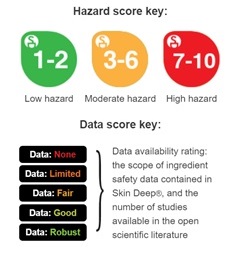
Of these 32 ingredients, on the EWG’s safety scale of 1-10 with 1 being the best, one ingredient is a 4, two are 2s, one is a 1-3, one is a 2-3, and the rest are all 1s. My guess is that once the EWG rates the new formulation of the sunscreen, it will be a 1 overall.
- The ingredient that is a 4 is Phenoxyethanol, the “bad” part about it is that it’s a (skin) irritant. It’s a preservative and I know from my experience trying to make my own sunscreens that used water to thin them that ALL preservatives are higher on the EWG rating. Preservatives are very essential ingredients because, without them, the sunscreen will grow bacteria and mold pretty quickly. That would be a lot worse health risk than the very low risk of skin irritation caused by the very small amount used in the product.
- The ingredient that is a 1-3 is the aloe. It is listed as a carcinogen only “if non decolorized”. When I researched this more, I found that this seems to only be an issue when the aloe is ingested, and is not an issue when applied topically to skin. I personally believe that, when used in sunscreen, regardless of if decolorized or not, the aloe is a “1”.
- The ingredient that is a 2-3 is the zinc oxide. The risks to humans listed are all for zinc oxide in powder/aerosol form. The risks are related to inhalation. When the zinc oxide is mixed into the other ingredients in the sunscreen, this risk is not present. The other risk is accumulation, which is a legitimate. However, the definite, known risk of skin cancer is more of a concern and more of an immediate concern to me, so the benefit of using the sunscreen with zinc oxide outweighs the risk to the environment to me, in this case.
How do I protect myself from the sun?
Of course, I use sunscreen. I use my favorite sunscreen –
Goddess Garden – or my light homemade sunscreen on my face every day of the year. Spring through fall, I also use sunscreen on my hands and neck, and anywhere else not covered by my clothing. In the summer especially, I wear UPF clothing – specifically designed to block UV radiation from getting through to my skin. Otherwise I make sure my skin is covered with sunscreen. During the most intense sun – mid day, about 10am-2pm in the summer in my northern US location – I try to stay indoors or in the shade as well.
Do you have a favorite sunscreen, sun protection product, or sun protection method? Please share in the comments below!


