It’s the middle of winter. The air is so dry I shock myself every time I turn on a light switch. My poor skin is dry and cracking. And my humidifier just died. So why on earth am I talking about DIY DampRid, a way to remove moisture from the air? Because I need it in the winter, all because of an energy saving measure that I have taken in my home.
Disclaimer: This post contains affiliate links. See my Disclosure Policy for more information.
 I live in a fairly modern home (built in the 1990’s), so my walls have good insulation, and I have fairly well insulated double-pane windows. But regardless of how good windows are, windows (and glass doors) are a major heat leak point in any home. In addition to leaks around the window or door, heat transfers through glass much more quickly than through insulated walls.
Reducing heat loss through windows with curtains
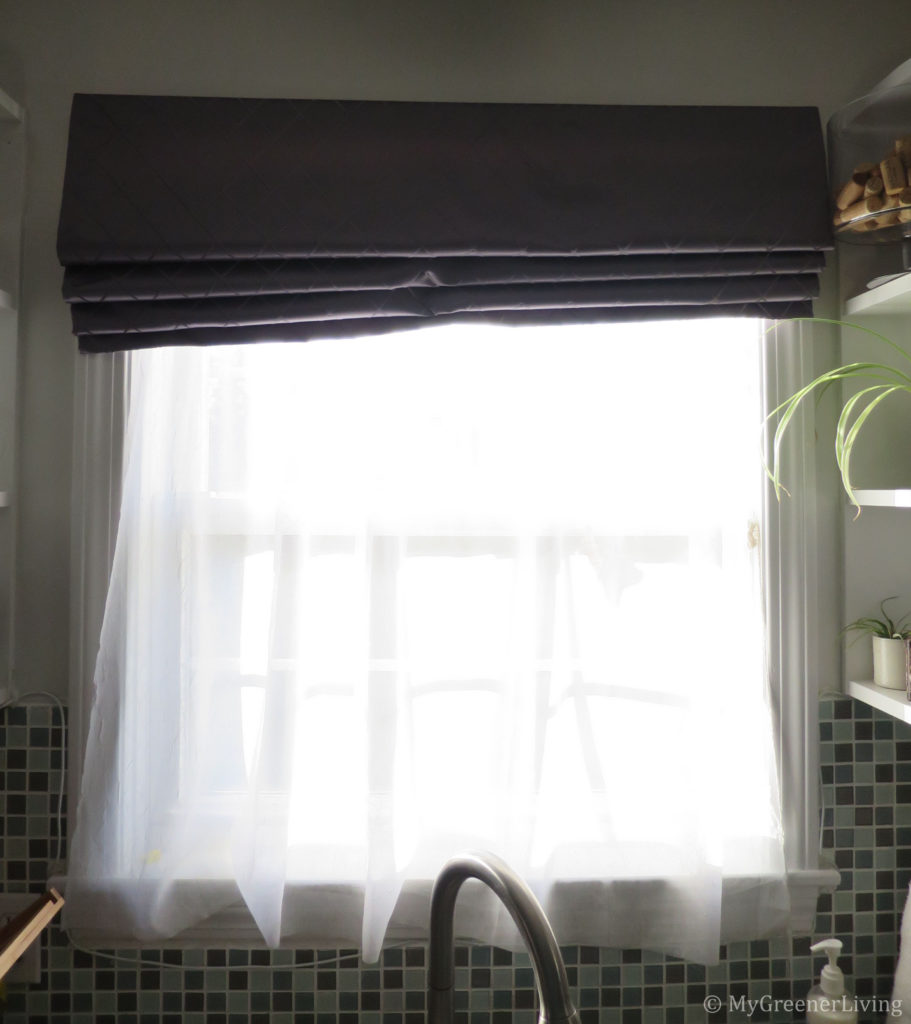
Lucky for us, there is a fairly simple and inexpensive way to reduce heat loss through windows. It took me 4 or 5 years, but now every window and glass door in my home has an energy saving heavy weight curtain that can be drawn to cover the window. I put these curtains up every fall, and draw them closed each night through the spring.

How do these curtains reduce heat loss from my home?
Simply put, curtains block the hot air inside my house from escaping outside, and the cold air from outside from coming inside past the curtains. The curtain forms a physical barrier between the cold air coming in the window, and the warm air inside my house. This keeps the inside of my house warmer, without using more energy to heat my home!

I pull the curtains closed when the sun sets, and keep them closed until sunrise in the morning. I open the curtains in the day time to let the light shine inside, which also lets the heat from the sun into the house.
Why do you need to remove moisture from your home in the winter?
When the curtains are drawn closed, there is pretty much no air circulation in the space between the window and curtain. Between the lack of circulation and the fact that the air between window and curtain is warmer than the air outside the window, condensation forms on the inside of the window. I used to find that these areas where condensation formed were breeding grounds for black mold. I though that if I could remove the moisture from the windows, mold would not grow, making my home cleaner. Turns out, I thought right, and DampRid was the solution.

DampRid
DampRid is a readily available household product that is often marketed targeting damp, musty basements. It is made of one simple active ingredient – calcium chloride crystals – and a container. DampRid provides this handy reference page that tells you what the product is and how it works. The Do-It-Yourself, or DIY, DampRid works exactly the same way!

What is calcium chloride?
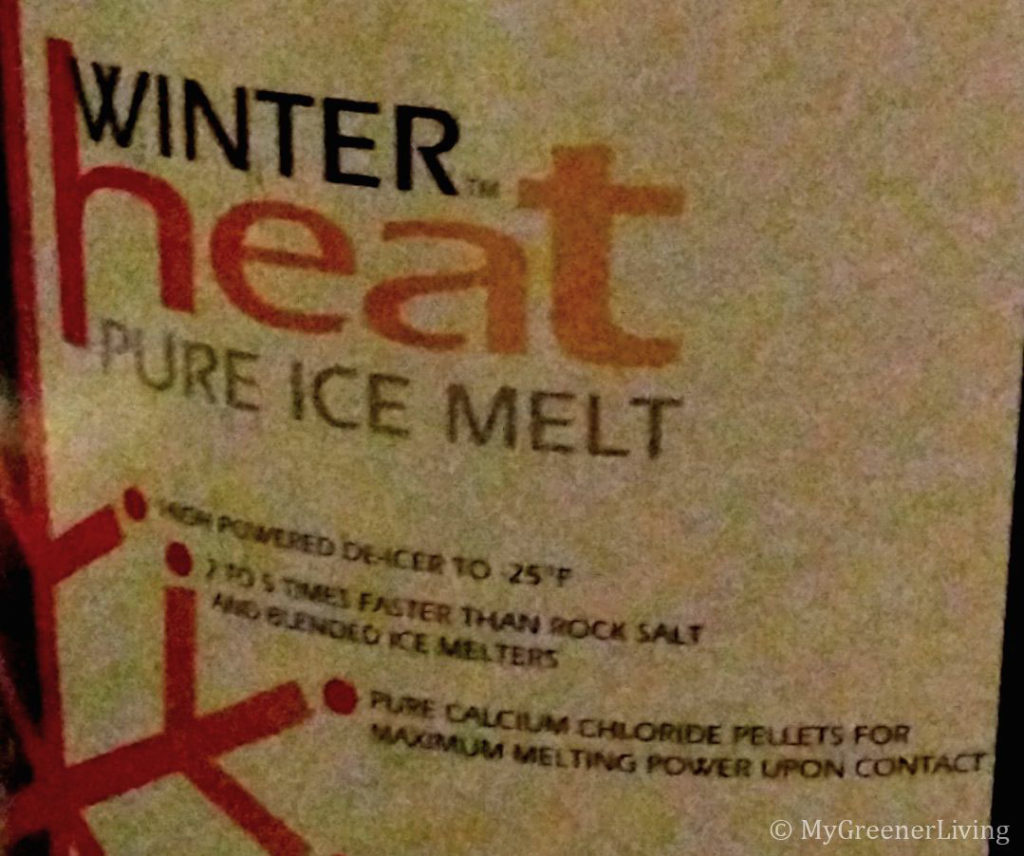
Calcium chloride, CaCl2, is a super interesting chemical that is primarily used as an ice melt. Calcium chloride absorbs moisture and, in the process, releases heat. This heat releasing – exothermic – process makes it great as an ice melt. As soon as it absorbs a little bit of moisture, it starts heating, thereby melting nearby snow and ice, which causes more heat…in a cycle that is great for melting ice!

Calcium Chloride, the active (only!) ingredient in DampRid got an Environmental Working Group rating of A on an A-F scale with A being the most benign or lowest concern. There are few or no known or suspected hazards to health or the environment.
Very Important: be sure to keep calcium chloride in a well-sealing, watertight container at all times before using as ice melt, DIY DampRid, etc. Once exposed to moisture, the calcium chloride starts “working” and absorbing water. If it does this in storage, it won’t be able to when you need it!
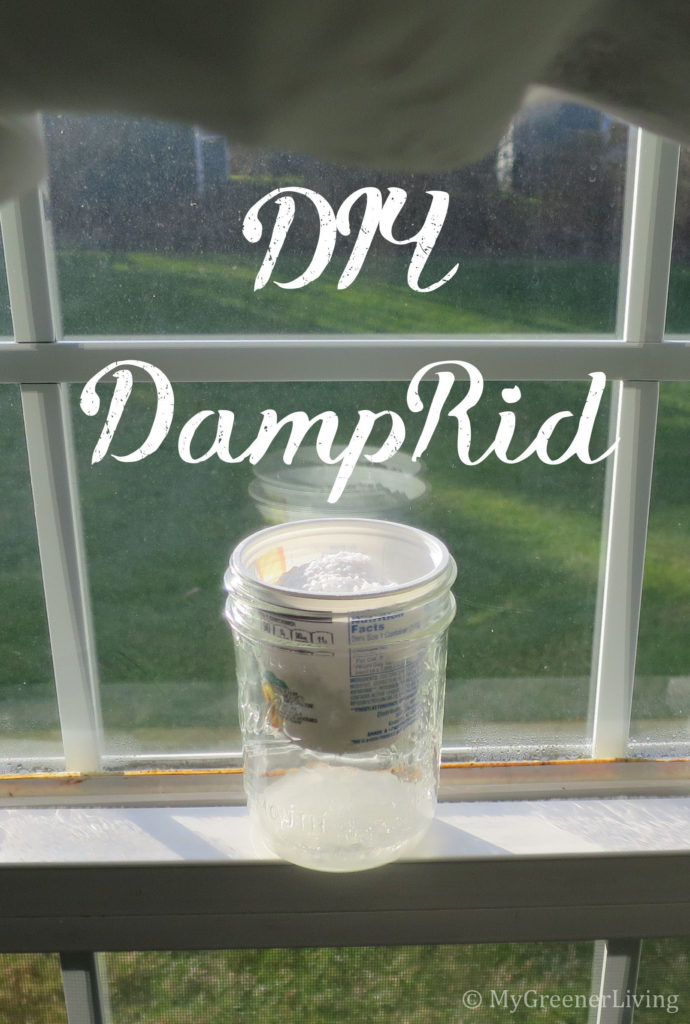
DIY DampRid
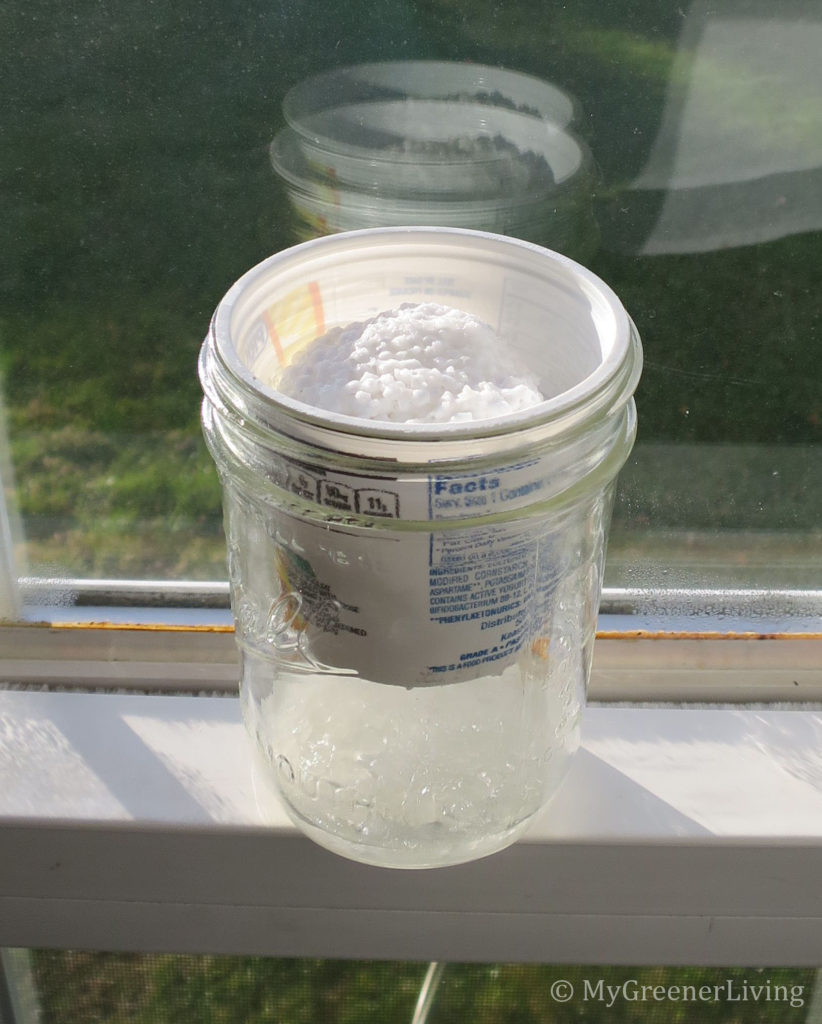
I have tried a few different containers for DampRid, and my favorite is made from a 2-cup wide mouth mason jar and a 6oz round yogurt container. Here’s how I do it.

DIY DampRid Supplies:
- 2 cup wide mouth mason jar (I’ll call this “larger container”)
- plastic container that fits within the mason jar (I’ll call this the “smaller container”)
- calcium chloride crystals (prior to use store in watertight container)
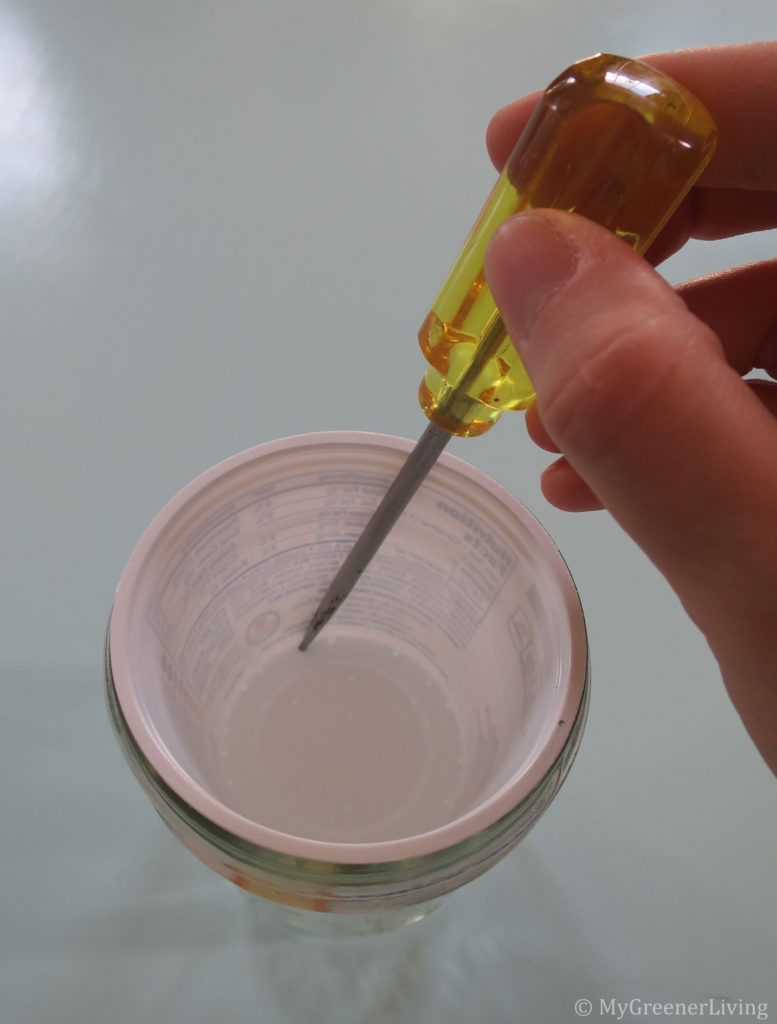
- sharp knife, ice pick, or other sharp object to pierce the plastic container

How I make my DIY DampRid containers:
- I wash and dry my containers, if not already done.
- Very, very carefully, I use my ice pick to puncture many small holes in the bottom of the smaller container. My aim is to make the holes large enough for the liquid to readily flow through, but small enough that the calcium chloride crystals will not fall through.
- Place the smaller container inside the larger container.
I’ve also tried a few different 2-layer containers. I like the 2 layers, where the top layer contains the calcium chloride crystals, and a bottom layer to catch the liquid that forms when the calcium chloride mixes with the water in the air.
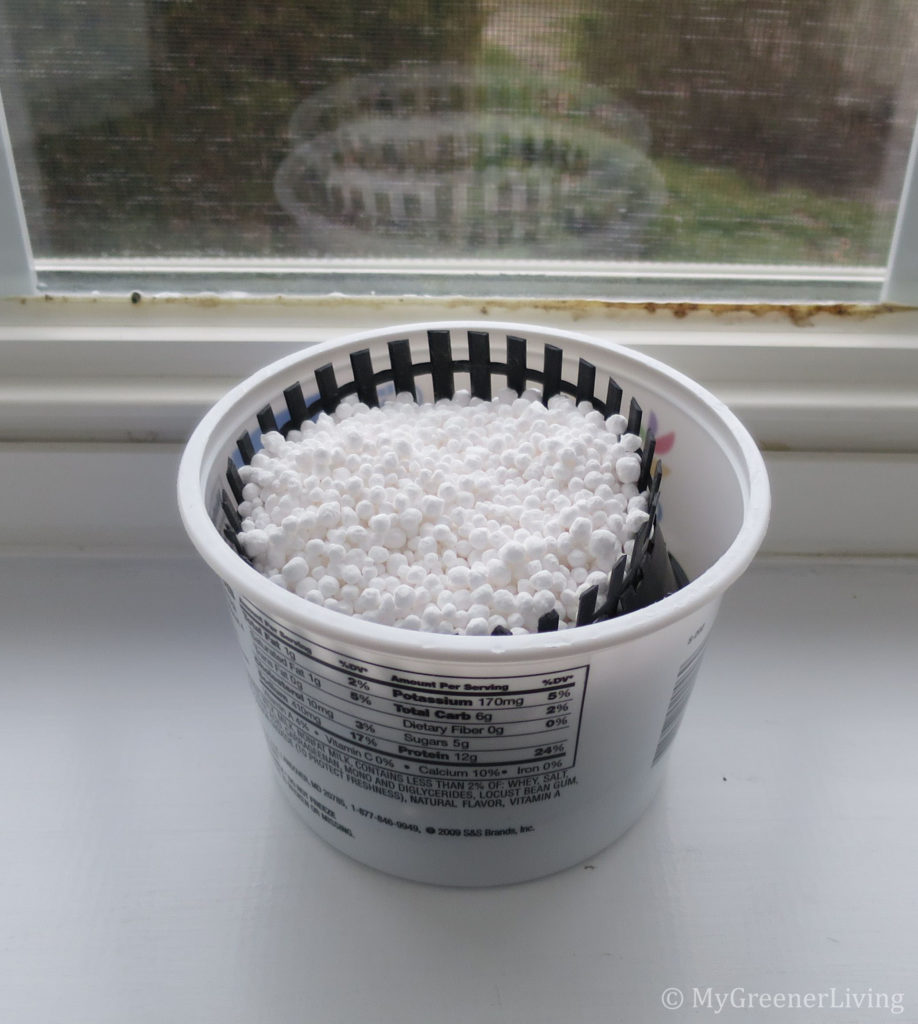
An alternate – and the simplest – option is a single storage vessel with calcium chloride crystals poured inside. The crystals will sit in the calcium chloride-water liquid, but the exposed calcium chloride will still capture the moisture.
Using DampRid
Containers of DampRid can be placed anywhere and will absorb moisture from the air. I recommend placing out of reach of children and pets.
I place a container of my DIY DampRid in each of my windows and next to each door, between the glass and the energy efficient curtain. The DampRid absorbs moisture in the air gap that forms between the window and curtain. I also open the curtains to let air circulate during sunny days.
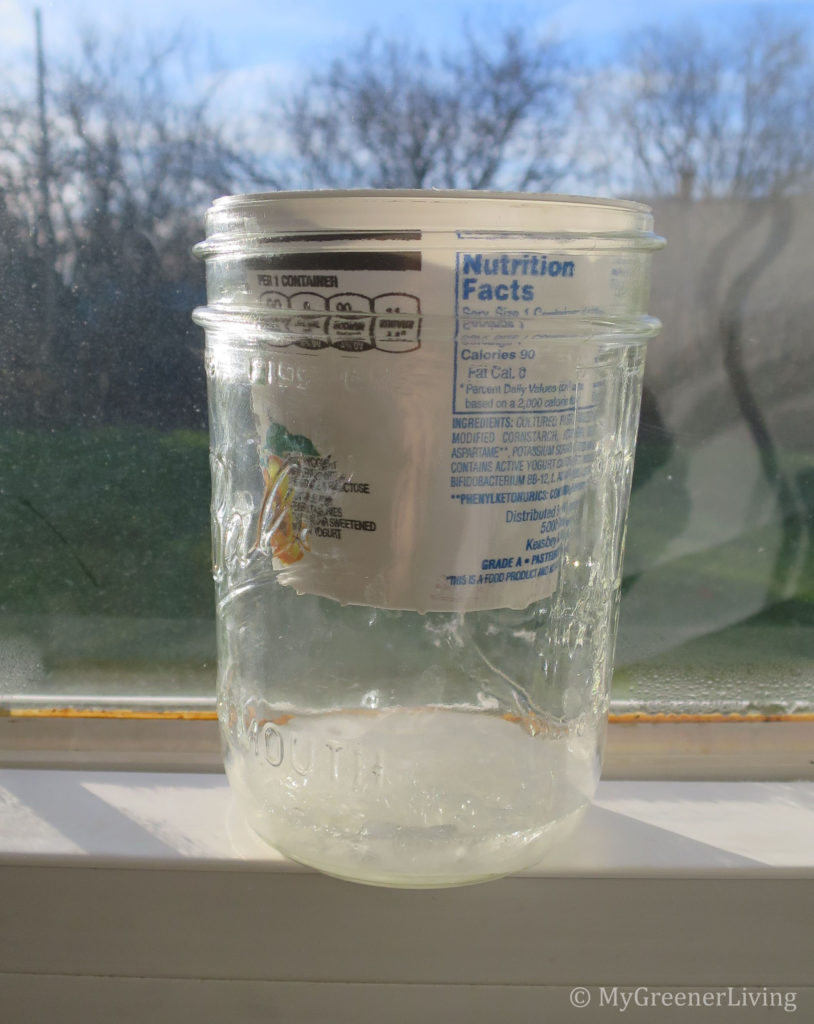
Every few weeks, I empty the contents of the larger container into the toilet and flush to dispose. Per DampRid’s guidance, the dissolved calcium chloride can be safely disposed by flushing down a toilet or dumping into a sink with running water. Then I refill the smaller container with more calcium chloride.
On very cold, cloudy days, I sometimes keep the curtains drawn to keep the cold out. But when the sun is out, the solar heat that my home can absorb through open curtains is greater than the heat the curtains contain inside, so I throw the curtains wide open.
In the southern New England climate where I live, I have found that the “winter” curtains and DIY DampRid are useful from about October through April. Once the nights start staying warmer (in the 50’s Fahrenheit) I stop drawing the curtains at night, or take them down and replace with my “summer” curtains.
Cost
Calcium Chloride
Since calcium chloride is usually sold in large/heavy quantities, it is usually more cost effective to purchase in a brick and mortar store rather than online. I purchased my 50 lb plastic tub of calcium chloride from BJ’s Wholesale Club 3 or 4 years ago. I use it in my DIY DampRid, and also on my concrete walkway as ice melt. It is available online at Amazon and likely hardware stores. I believe I paid $30 for 50lbs. I also just saw a 10 lb container at Ocean State Job Lot for $10. Living in New England where calcium chloride is readily available, I wouldn’t pay more than $1/lb for calcium chloride.
Containers
Mason jars cost roughly $1-$2 per jar. I shop around Walmart, Ocean State Job Lot, Christmastree Shops, and grocery stores looking for sales and deals. I usually can get my mason jars for $10-13/dozen.
The inner container that I use in my DIY DampRid is some recycled platic container from another product that I have purchased. Yes, I avoid buying plastic when I can, but I do purchase on occasion. My favorite 6 oz yogurt containers in my DIY DampRid actually came from a friend for me to use as a soap mold, but I re-purposed it again. Thanks, R! I have also used the larger 16oz and 32oz yogurt and cottage cheese containers for the larger container in my 2-layer DIY DampRid.
DampRid
DampRid typically costs about $4.50-$5.00 for 2-10.5oz containers, or about $2.25 per 10.5oz container. (I’ve seen it at Amazon and Walmart. Note: If I purchased, I would purchase fragrance free, but it’s tougher to find.)
DIY DampRid
Assuming calcium chloride crystals can be purchased for $1/lb ($1/16oz x 10.5oz = $0.66 for the amount that comes in one package of DampRid) and you can make your container for $1.50, your total cost for one DIY DampRid plus container is $2.16. You can refill this indefinitely at a cost of $0.66 each!
Curtains
I am a bargain hunter. While curtains can cost upwards of $60 per pair, I don’t believe that they need to cost so much. I shop around for energy saving/energy efficient/room darkening curtains. They all have the insulating characteristics that I am looking for.
Most of the curtains in my home cost $10 per pair or less. I really splurged on the kitchen/dining room curtains – I paid $80 for 4 pairs of 84″ long curtains. They’re Duck River Textiles, and the quality is fantastic. I have had great luck finding nice looking, nice quality, and budget friendly curtains at Christmastree Shops. There, I am able to purchase pairs of curtains for $10, and I often wait until there is a 20% off coupon. $8 per window is a great deal in my opinion! Over the years, they are definitely saving me money in home heating costs.
Why DIY DampRid instead of just buying DampRid?
DIY DampRid costs marginally less than purchasing DampRid. You can refill your DIY containers, or the DampRid containers. I prefer the DIY version for the following reasons:
- I can find/make containers in any size to fit the location where I need DampRid (the standard 4.5 inch diameter DampRid containers will not fit in my window)
- Containers that I already have can be reused, rather than purchasing more plastic
- I can make DIY DampRid using less plastic
Do you do anything to “winterize” your home? Please share in the comments below!